WordPress Multiple Login to All Sites

Looking to find an easy way to enable multisite login to all sites and manage your network sites better? Well, we’ve come up with the easiest and most compact plugin that will make multi-site management super fast and convenient.
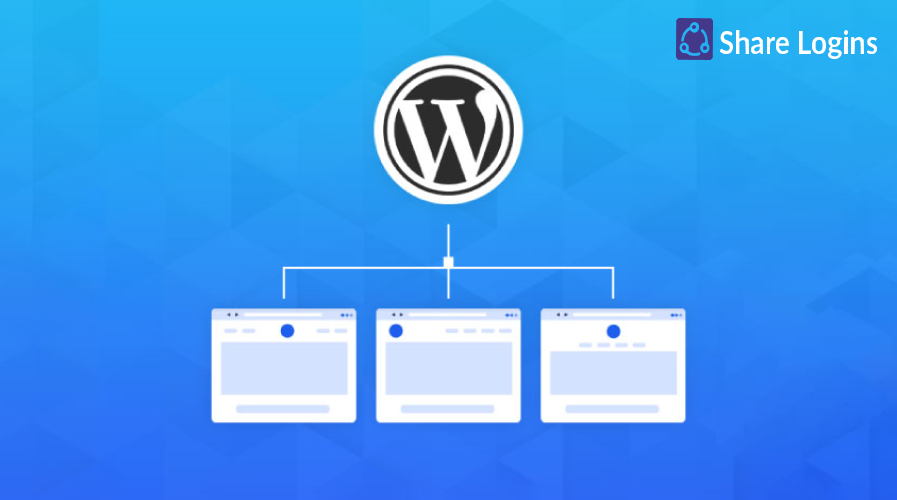
WordPress multisite login gives you the flexibility to connect all your sites with one click. It is like creating a wide network with all of your WordPress sites and it helps generate a huge user base for your core website. But as this can be quite time-consuming and usually not a task for beginners, so many tend not to take this route.
However, with the simple methods detailed in this blog, you will be able to make multisite login to all sites completely automatized. So, let’s dive right in!
Benefits of Multiple Login to All Sites
Multisite login to all WordPress sites brings several benefits to your websites. You would be surprised to see your workflow get better and have plenty of time to get all the things done quicker. With a well-managed website, you can easily focus on other aspects of your site. Let’s discover the benefits of having multisite login to all sites.
- User Convenience: One-click login grants unparalleled convenience to any user that’s connected to a multisite website. They get rid of the hassle of going back and forth to login, which saves a lot of time for the user.
- Simple log-in: Multisite login makes managing websites very simple for website owners. You no longer need to manage websites separately and think about credentials. Users can just remember one set of credentials and log in to all sites at once.
- Improved Security: Centralizing all websites improves security and makes users more enthusiastic about using a proper security code. Also, managing all website users from one centralized point gives you a strong grip on security.
Step-by-Step Guide to Manage Multi-Site Logins
When it comes to managing logins across multiple WordPress sites, you’ve got a couple of options: either dive into custom development (which can be complex and time-consuming) or go with the plugin route. Let’s keep things simple and focus on the latter.
Now, there aren’t a lot of single sign-on plugins out there, but there’s one gem that stands out: Share Logins. It’s like having a master key for all your WordPress sites.
With Share Logins, you can streamline your login process across multiple sites, making it easy for users to access all their accounts with just one set of credentials. No more juggling different usernames and passwords!
Plus, it’s user-friendly and hassle-free, so you don’t need to be a tech wizard to set it up. Just install, configure, and everything’s ready. Your users will thank you for the seamless experience. But first, let’s know how to get and use this master key for your multiple website login at once.
Step 1: Get Share Logins
To start with the whole process, you need to get Share Logins. Visit the official page, and then follow along.
Hit the ‘Get Share Logins’ button

That will direct you to the pricing page, and you can choose any of the packages depending on your preferences.
Click the ‘Buy Now’ button of your chosen package.

Which will redirect you to a page where you can fill in your personal information.

After completing all the required information, hit ‘Purchase‘, and you are just one step away. Within a few minutes of purchase, you will get an email with a link to the plugin .zip file.
Download the file, and you will get full-access to the plugin, and it’s time to get it into action.
Step 2: Upload the Plugin
Head over to your site’s dashboard and go to plugins. Click ‘Add New Plugin‘ and upload the downloaded .zip file.

After uploading the .zip file, install it and then activate Share Logins. Once it is activated, you can see the Share Logins icon on your dashboard. If you cannot find it, try activating it again.
Step 3: Configure Settings
After completing the whole activation process, head over to the settings page of the Share Logins.

Here, you would need to make some basic changes for multisite login.
On the settings page, you will see a Secret Key which is auto-generated, but we highly recommend you change it to something secure and easy to keep in mind. This key will be valuable in connecting all the other websites. Make sure to enable the ‘Enable Log’ to keep a log of your website activities.
Click on ‘Save Settings‘ after you are done.
Step 4: Add Remote Sites
Go to the Remote Sites tab on the settings page of Share Logins. Enter the URL to the website you want to connect. Hit the green button and then save changes to connect your WordPress websites.

Step 5: Connectivity Settings
After that go to the Connectivity tab to set the user roles and metadata you want to share among the connected websites.
From the user role option choose the user roles you want to share among the connected website. Here you can search for the roles and select any of them.

And then, from the User Metadata option, you can select the data you want your websites to share. With this, whenever users give that specific data, they will be shared among all the websites, making that data available across multiple sites.

Step 6: Request Management
To manage the activities of the connected sites, go down to the connectivity page and see the options for outgoing requests, ongoing requests.
The outgoing request refers to the activities of the current website that will be shared with other connected websites. On the other hand, incoming requests refer to the other connected website activities that will be shared with the current website.
Select the activities according to your preferences, keep them enabled, and remove the other ones.

That’s it! Now you can have a multisite login to all sites and manage users better than ever.
So if you’re tired of managing multiple logins for your WordPress sites, give Share Logins a try. It’s the smart choice for simplifying your multi-site user management.
Final Thoughts
Multi-site login is something that makes multi-website holders’ lives super smooth by providing better user management. Attempting to do it manually is a lengthy and tedious process that usually requires professional help. But with Share Logins, you can connect multiple WordPress websites and share logins credentials to all sites.
With our detailed guide on how to use Share Logins for seamless multisite login, you can boost user satisfaction and offer an exceptional experience across all your network sites.
Subscribe to Our Newsletter
Get the latest WordPress tutorials, trends, and resources right in your inbox. No Spamming, Unsubscribe Anytime.

Thank you for subscribing to our newsletter!


