How to add a delivery date field in the Checkout page with CoDesigner
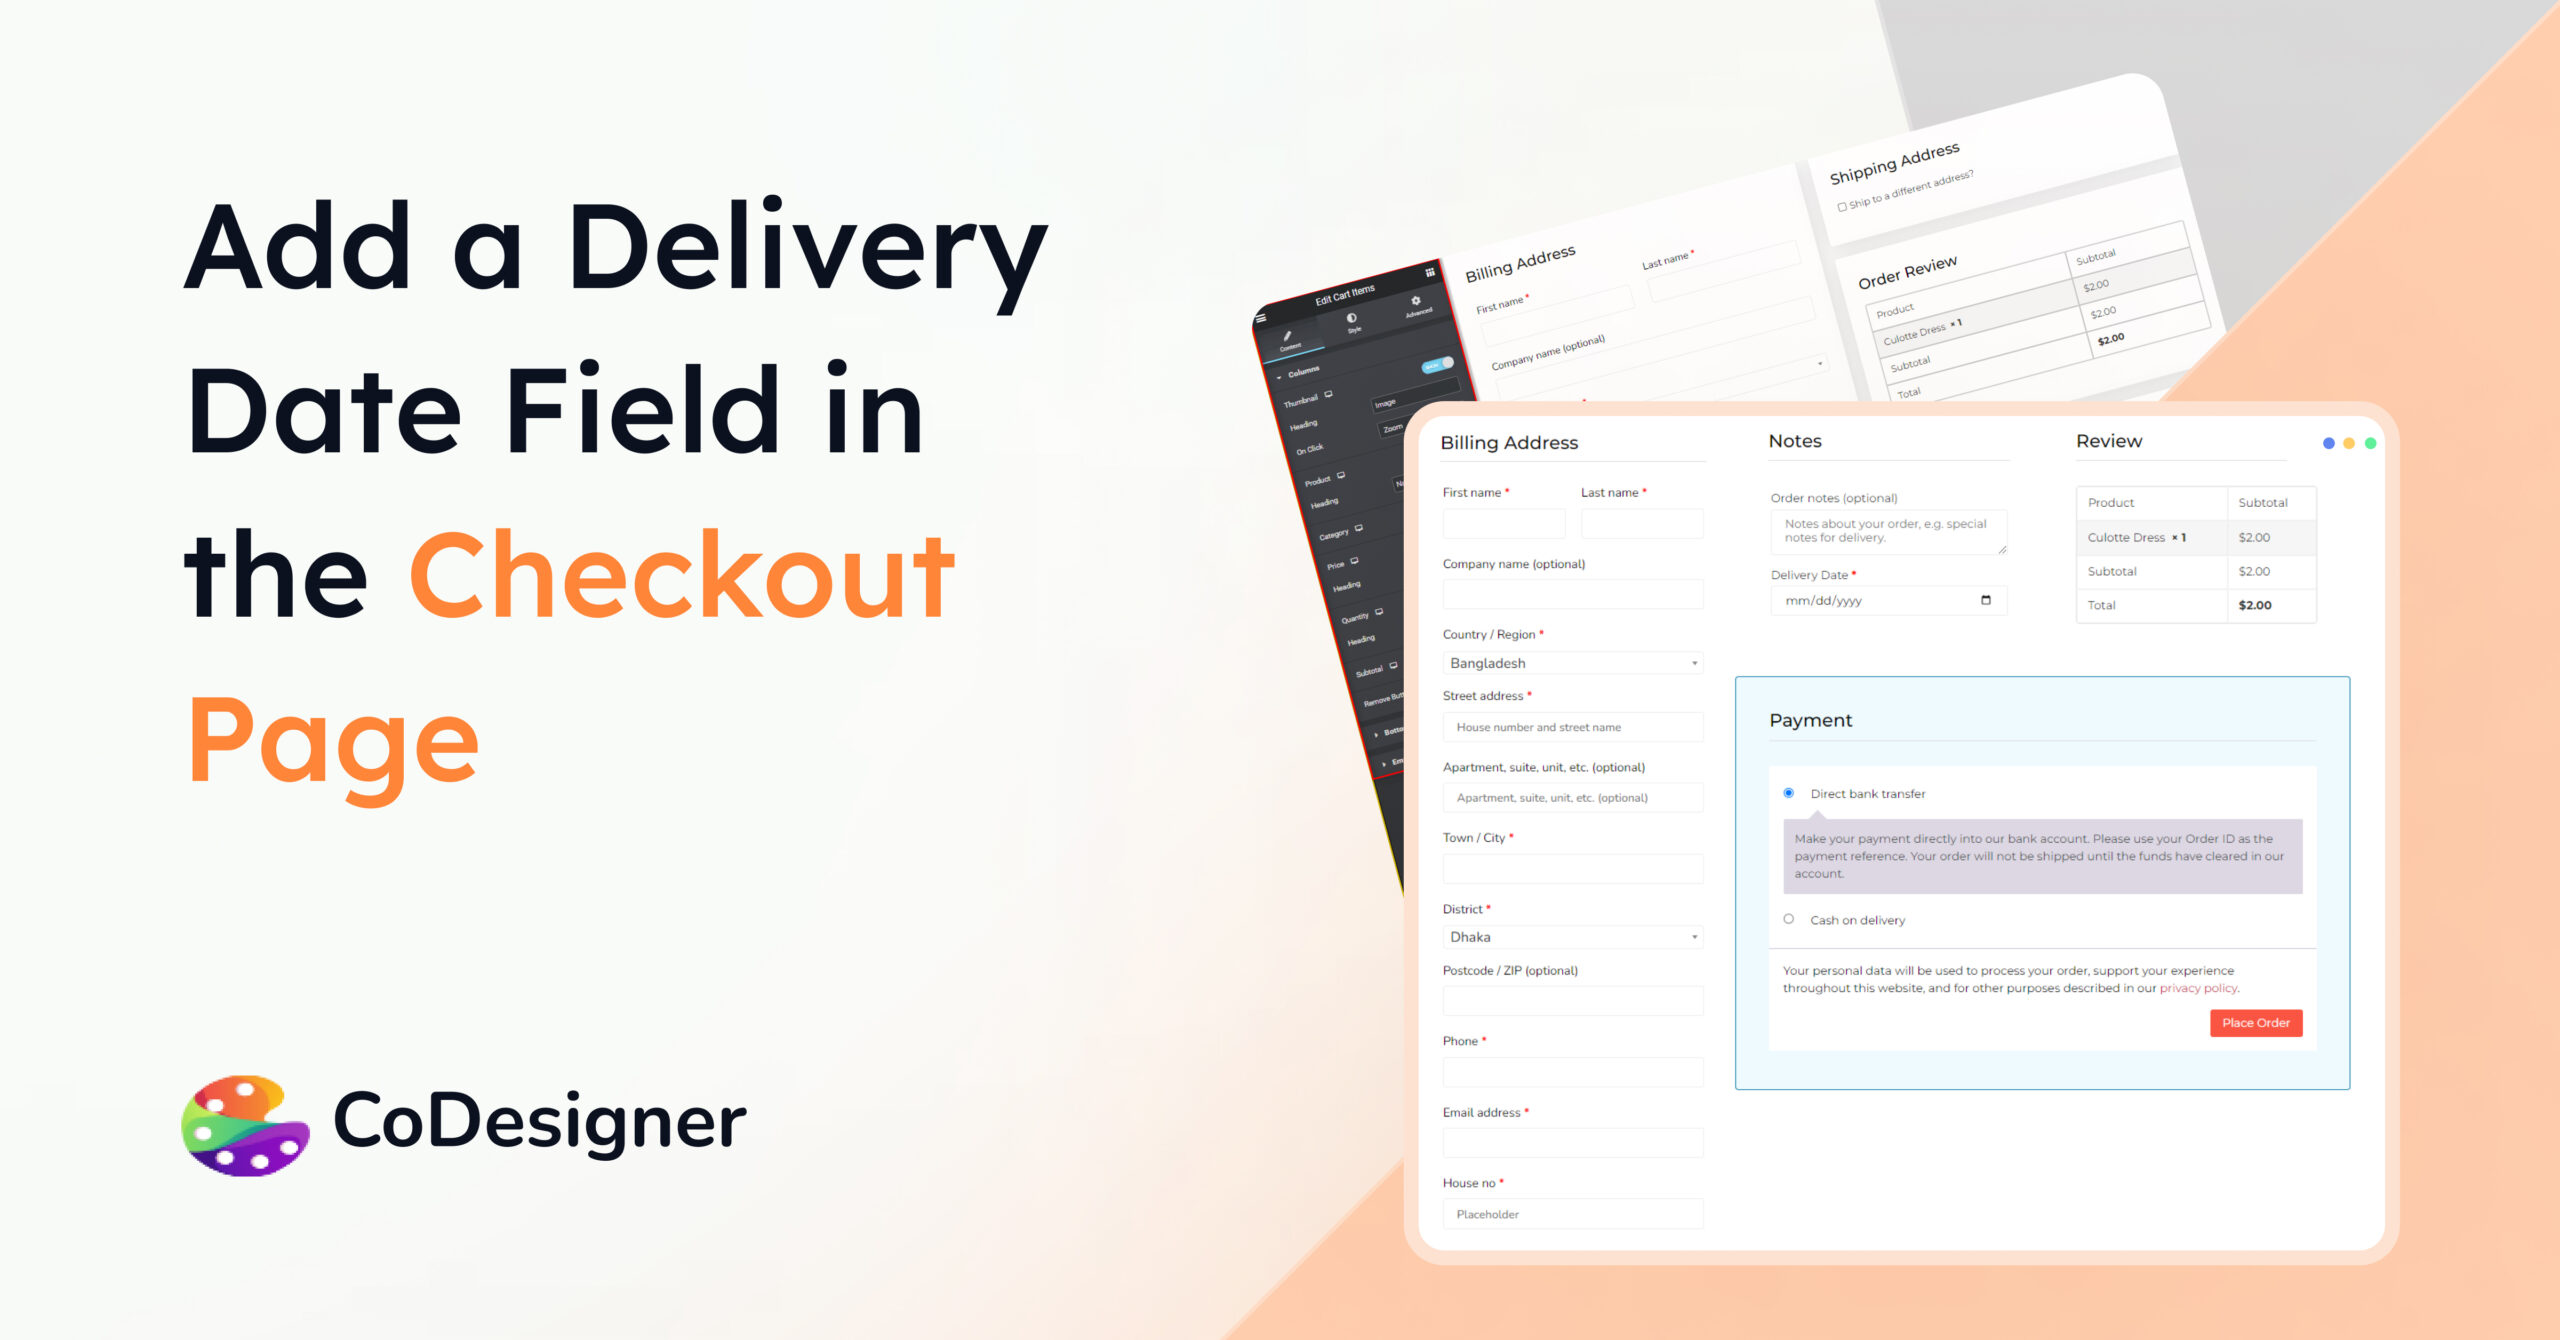
Most online stores need custom fields on the checkout page and the top preferred one is delivery date. For example, if you run an online grocery or pastry shop that delivers goods to customers on their convenient date, your website checkout must have a delivery date field. In this post, you will learn how to add a delivery date field and create a customizable checkout page. Also, you will learn how to display the delivery date submission to your customers and on the order management page of WooCommerce.
The default WooCommerce doesn’t have any option to customize the checkout page and that’s where CoDesigner can help you out. CoDesigner lets you fully design and customize the checkout page without much hassle. It has 8 premium widgets to enhance the WooCommerce checkout page. These widgets include –
- Billing widget,
- Shipping widget,
- Order notes,
- Order Review,
- Order Pay,
- Payment methods,
- Checkout login and
- Thank you widget.
The billing, shipping, and order notes widgets have the option to add new fields that you always wanted to have on your store checkout. Also, you can edit the existing fields. While adding the new fields you will get the options to change –
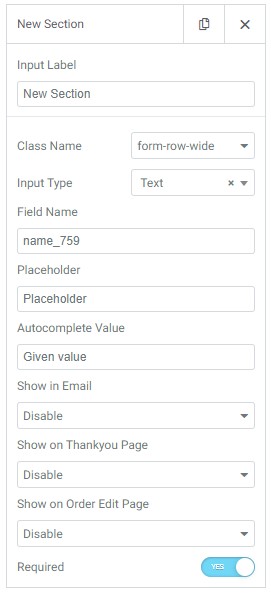
- input label,
- class name,
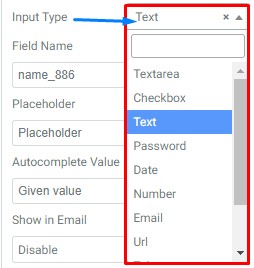
- input type (it can be textarea, checkbox, text, password, date, number, email, URL, telephone number, select, and radio options),
- field name,
- placeholder,
- autocomplete value,
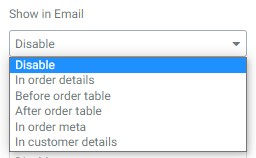
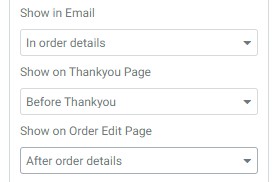
- show in the email (in order details, before order table, after order table, in order meta, in customer details),
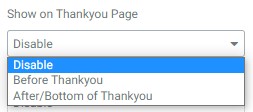
- show in Thank You page (before Thank You, after/bottom of Thank You),
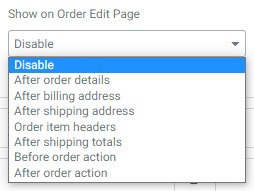
- show on order edit page (after order details, after billing address, after shipping address, order items header, after shipping totals, before order action, after order action)
Add a delivery date field on the checkout page
Now that you have a clear idea of the new billing field components, let’s start creating a checkout page using Codesigner and see the method to add a delivery date field along the way.
- Before starting make sure you have the following plugins installed on your WordPress website –
- Turn on the checkout pages from the CoDesigner dashboard and save the changes.

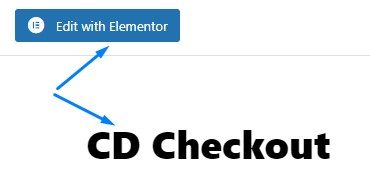
- Now, you need to create a new page for the checkout page and edit it with Elementor. You can also delete the WooCommerce shortcode from the old checkout page and start creating the checkout page directly into it.
- Add your preferred widgets on the Elementor editor. I’m going to add the billing, shipping, order notes, order review, and payment methods for demonstration.
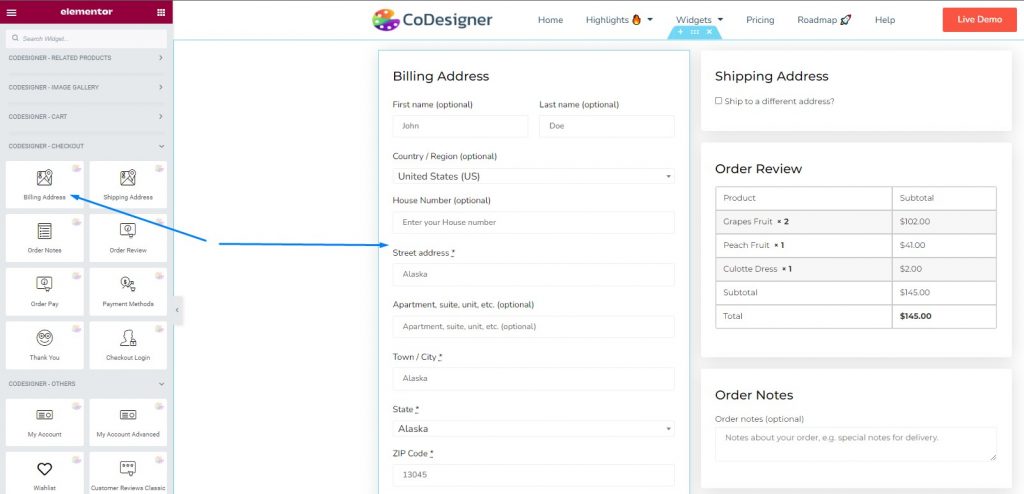
- As the billing, shipping, and order notes widgets have the option to add new fields, I’m going to add a new field for the delivery date on the Order Notes widget.

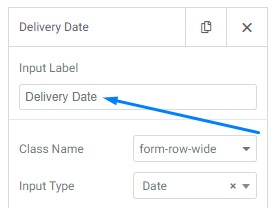
- Set the Input Label – Delivery Date.
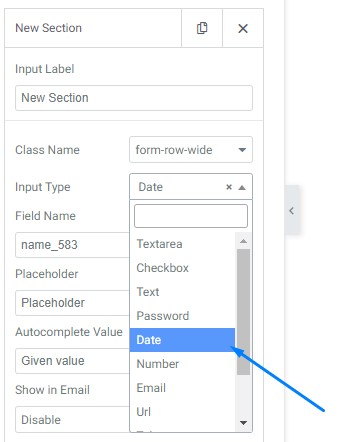
- Now, select Date in the Input Type.
- If you wish to show the delivery date submissions by the customers, choose the options in Show In Email, Show on Thankyou Page, and Show on Order Edit Page.
Here’s how the delivery date field looks like on the frontend –
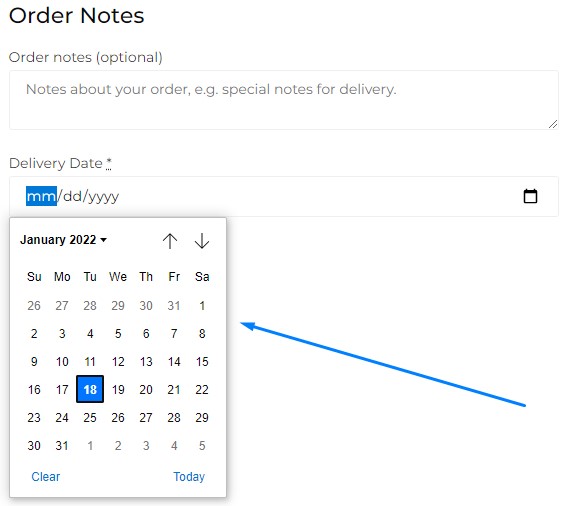
Your customers can easily select the date they want the delivery on the checkout page. Also, they will be notified through the Email and Thankyou Page if you have turned on the options. As an admin, you will be able to view the delivery date of any specific order directly on the Order Management page of WooCommerce.
If you want to learn more about the design and customization steps of the checkout page, don’t hesitate to check this post.
CoDesigner also lets you customize and design the cart page for free, check it out.
Subscribe to Our Newsletter
Get the latest WordPress tutorials, trends, and resources right in your inbox. No Spamming, Unsubscribe Anytime.

Thank you for subscribing to our newsletter!


