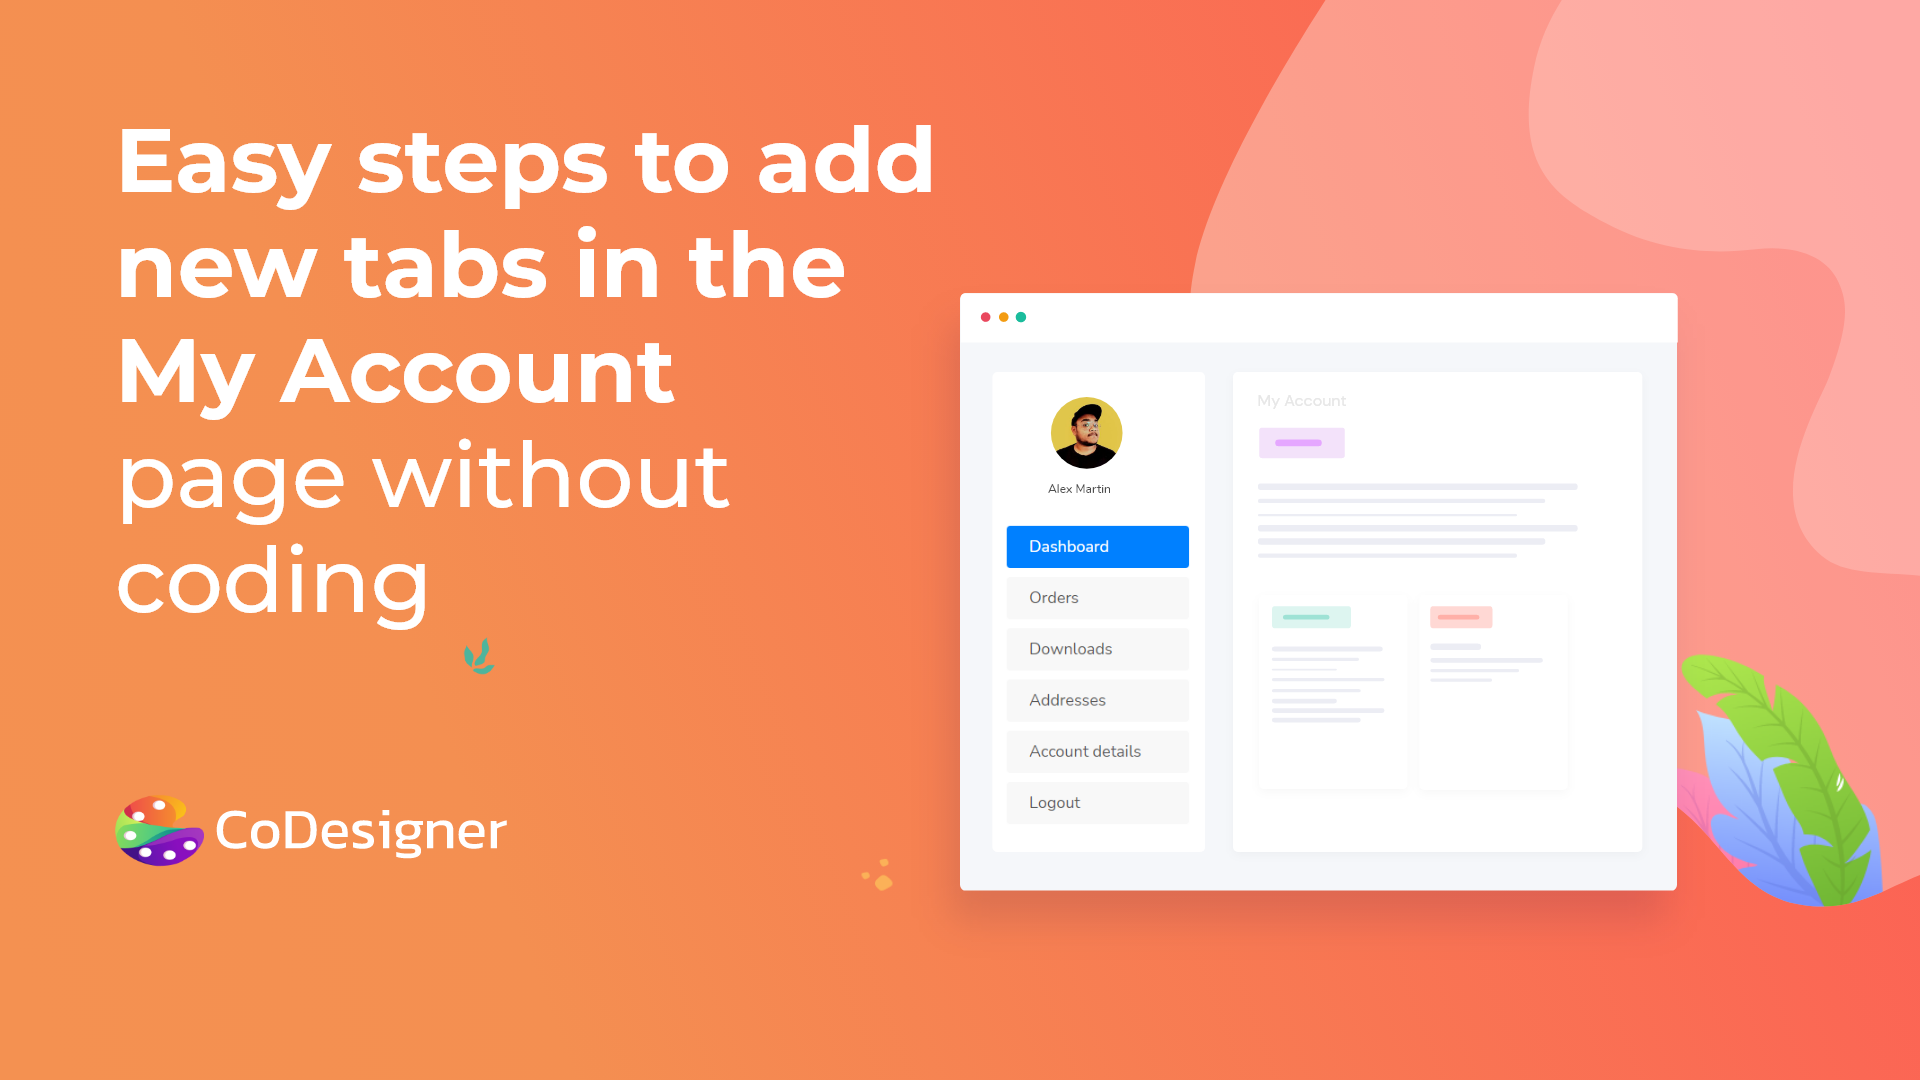
Easy Steps to Add New Tabs in “My Account” Page Without Coding


The WooCommerce My Account page is an essential part of any WooCommerce store. It has always been one of the requested feature by designers and developers to customize the WooCommerce My Account page. The ‘My Account’ page has to be well-designed and easy to navigate for your users. And making the WooCommerce account management system more attractive also represents your dedication to your customers and business.
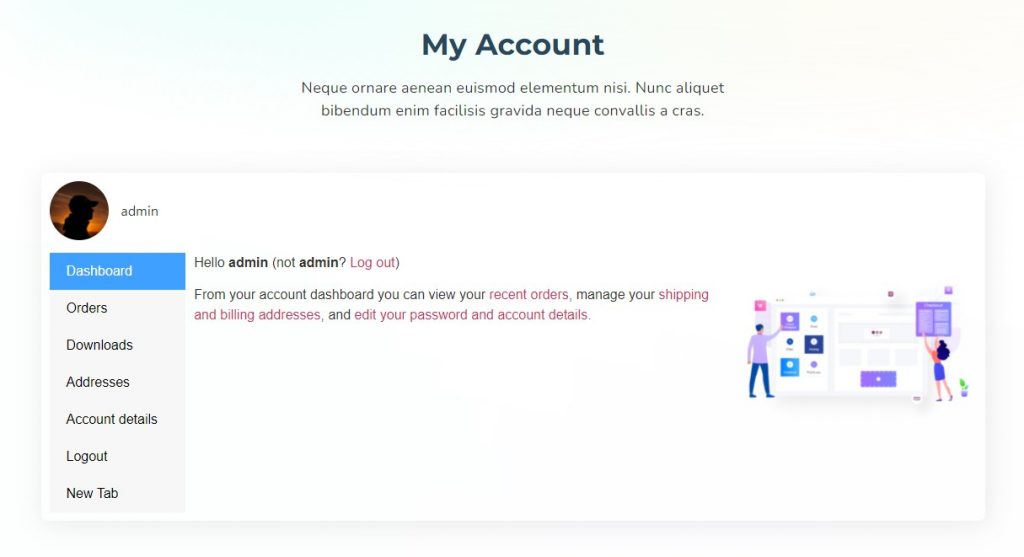
By default, the My Account page contains a WooCommerce shortcode. In the example below, you can see that the WooCommerce My Account page looks quite bland, which might deter most users from staying in your website for long.

The default account management tabs includes information such as –
- Dashboard
- Orders
- Downloads
- Addresses
- Account details
- Logout
Elementor doesn’t have the options to customize the interface of the WooCommerce My Account page, add new tabs, or change the tab style. That’s why CoDesigner came up with exciting widgets to design the layout, change content, and add custom tab in Woocommerce My Account page.
CoDesigner features 2 intuitive widgets to customize the WooCommerce My Account page –
My Account Advanced widget by CoDesigner is easy to set up and design. You can add custom tab in WooCommerce My Account page without writing a single code. Also, if you only wish to design the My Account page then the free version of the CoDesigner My Account widget can get the job done. Whether you are using the free or premium widget, you will get an error-free experience to achieve what you need in just minutes.
In this article, you will see the steps to design, customize, and add custom tab in WooCommerce My Account page. The design and customization options for both widgets are similar, so you will also have the idea to design and customize the free version of My Account WooCommerce Elementor.
How to Add Custom Tab in WooCommerce My Account Page
Follow the steps below to add custom tab in WooCommerce My Account page (Free) and My Account Advanced widgets and edit them to your style –
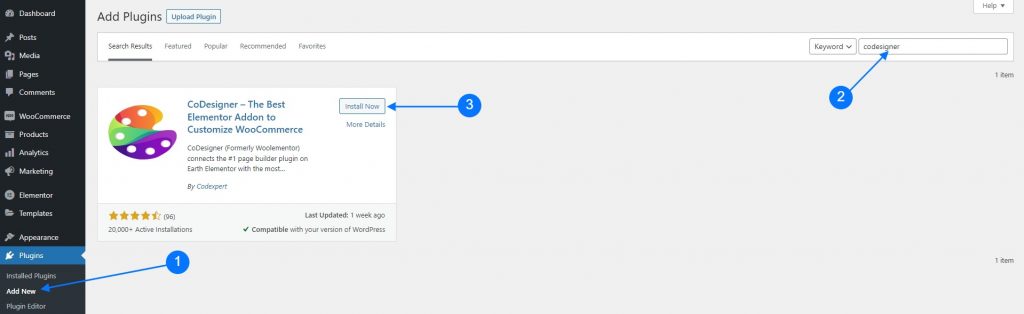
1. In order to use the free WooCommerce My Account widget you only need to install and activate the free version of CoDesigner. To use My Account Advanced you will need to install both free and pro versions of CoDesigner. Also, make sure you have Elementor and WooCommerce installed on your site.
To install CoDesigner, go to Add New Plugin on WordPress dashboard – Search for CoDesigner in the search bar and install the plugin.
2. Now activate the plugin and go to the CoDesigner dashboard from the admin menu.
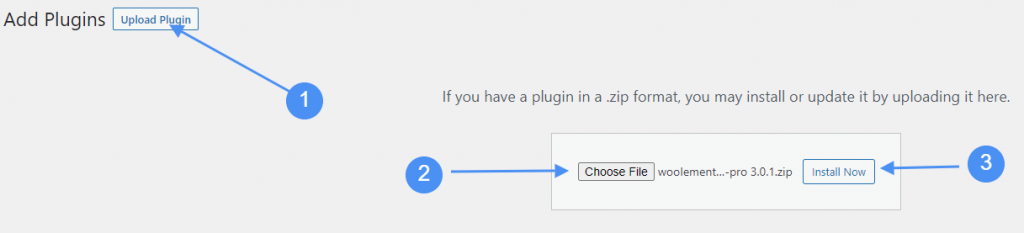
3. Now, you will need to upload and install the premium version of CoDesigner. Download and install the premium plugin from here.
4. Go to the CoDesigner dashboard to activate your preferred My Account widget. To use the My Account Advanced you only need to activate it from the widget list and click on ‘Save Settings’.
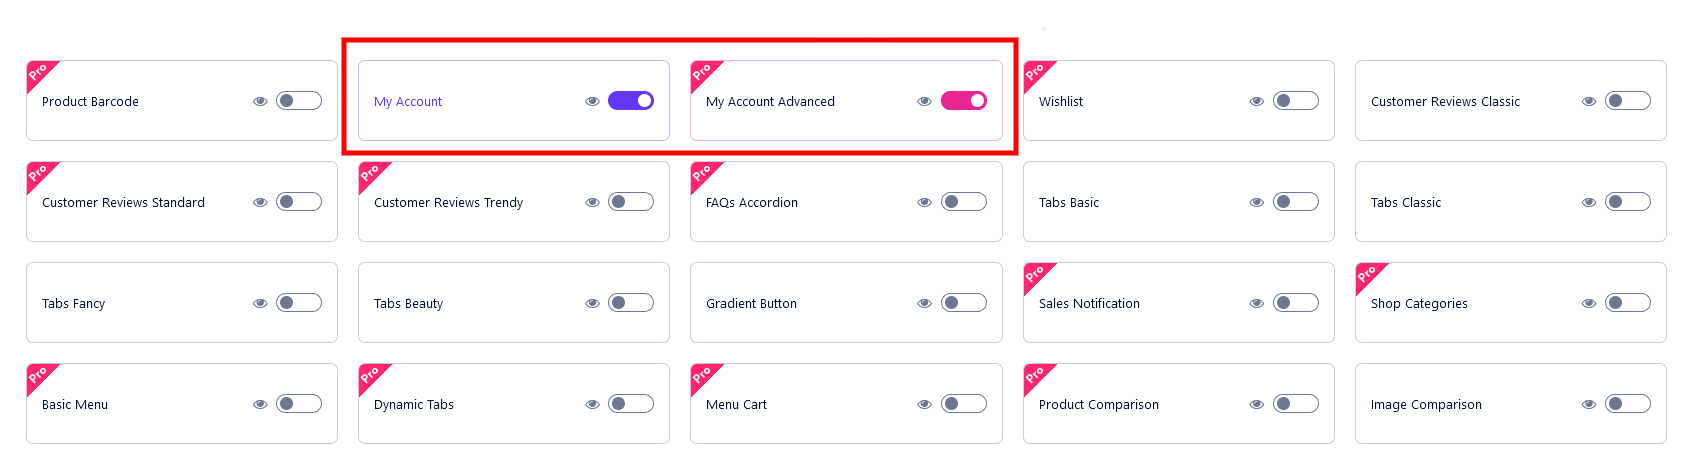
Enable My Account Widgets
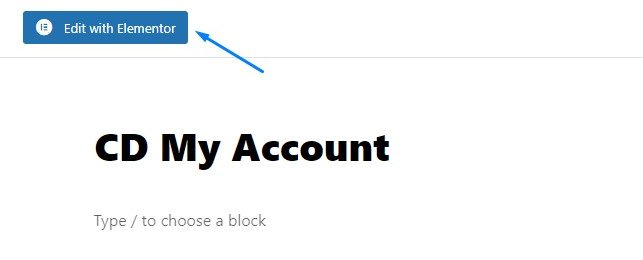
5. Create a new page with Elementor, and click ‘Edit with Elementor’.
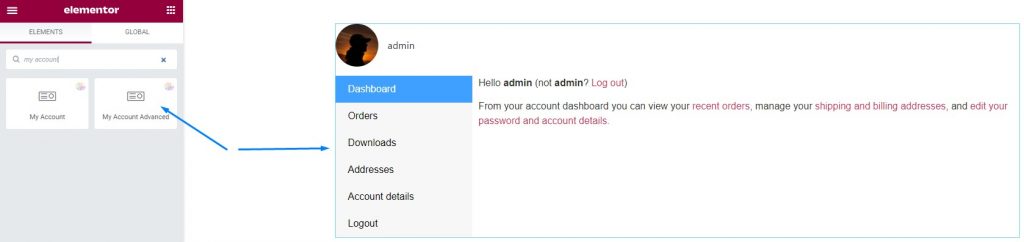
6. On the Elementor editor search for the widget and add it to a new section of the page. As both widgets have similar customization and designing options, simply drag and drop the My Account Advanced widget.
Customization
7. On the Content tab you will see two sections – Tab manager and Profile Content. On the Tab Manager, you will see the default WooCommerce My Account tabs.
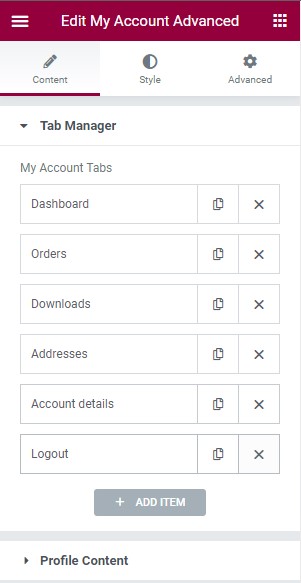
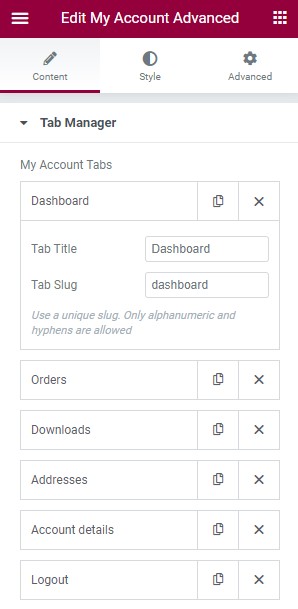
8. For the existing tabs you can change the tab title, tab slug, and delete tabs.
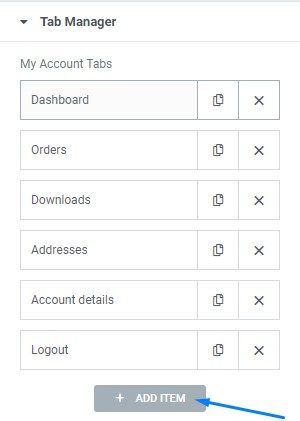
9. You can add new tab in My Account page WooCommerce by clicking the Add Item.
Here’s a demo video showing all the steps and customization options of My Account.
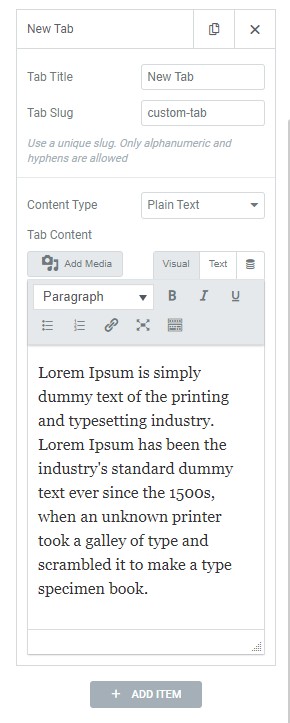
10. After adding a new tab, you will see options to change the Tab Title, Tab Slug, and select Content Type – Plain Text or Template.
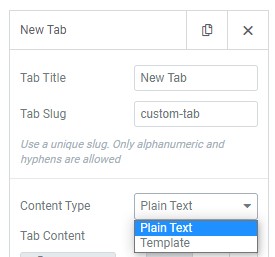
11. By selecting the Plain Text option, you can input your own content.
12. Here’s how the new tab appears after selecting the template on My Account.

13. With the template selection option, you can easily make any pre-made template appear on the new tab. For example, in the sample image below, the pre-made template called Promotional Video has been added.
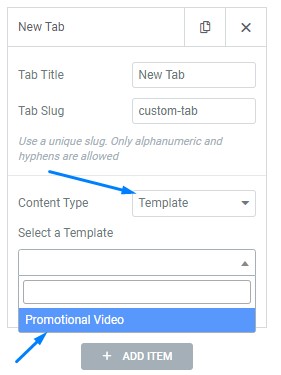
14. Here’s how the new tab appears after selecting the template on My Account.
Styling
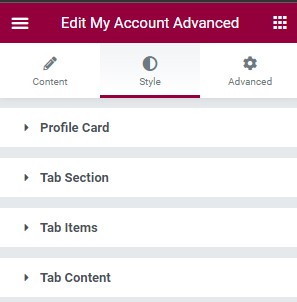
15. To change the look, feel, layout, content, and design of the WooCommerce My Account page, CoDesigner added 4 sections for styling. These sections include –
- Profile Card
- Tab Section
- Tab Items
- Tab Content
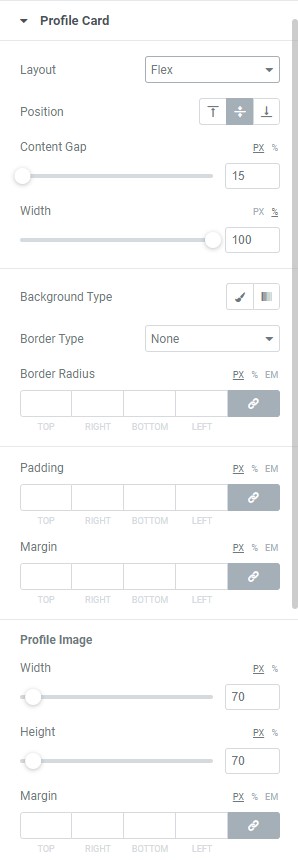
16. Profile Card – you can change the layout to flex, reverse flex, or normal; change position, column gap, background type, border type, style profile image, etc.
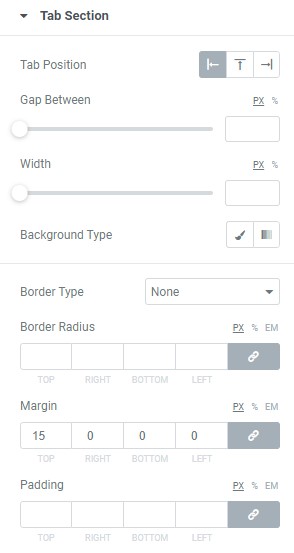
17. Tab Section – change tab position, background, border, etc.
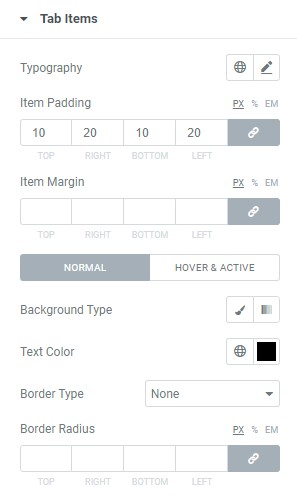
18. Tab Items – change the typography, item padding, item margin, background, etc.
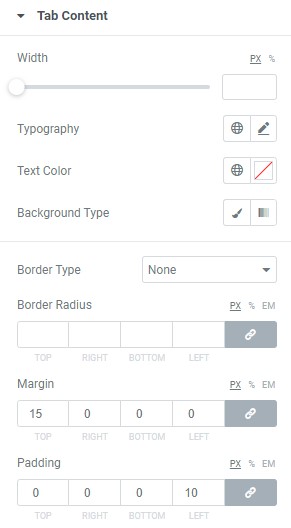
19. Tab content – you can change the width, typography, text color, background, border, etc.
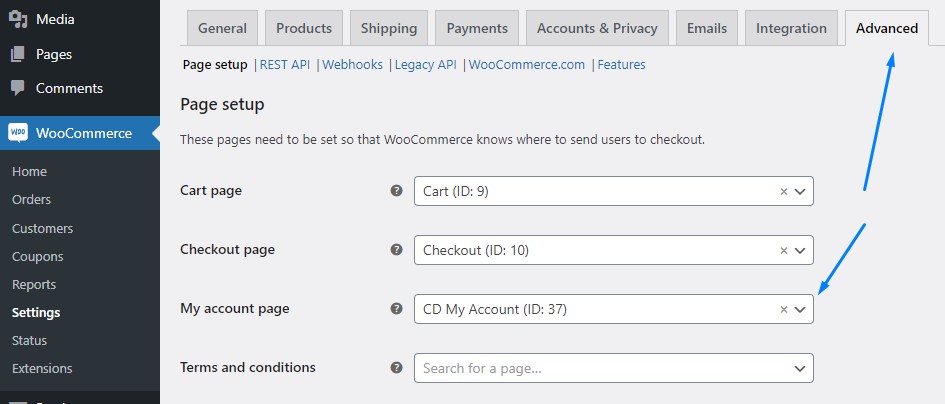
20. After customizing and designing the My Account page, you need to set the new WooCommerce add tab to My Account default.
Go to WooCommerce page on your site dashboard – Select Settings – Go to Advanced tab – Search and add new tab in My-Account page WooCommerce.
Here’s the final outcome of our new My Account page with an additional tab.
Wrapping Up
CoDesigner is adding new features and options on every major update to enhance your online business. To make the Elementor WooCommerce My Account page more attractive and easy to use, we made it more flexible to add new tabs and gave limitless design options for it.
Start by improving your checkout experience and creating an eye-catching cart page with CoDesigner. Simply download the free version of CoDesigner for essential WooCommerce My Account widgets, and upgrade to the premium version to fully customize your checkout, shop or cart page. Transform your customer’s journey and boost your business with CoDesigner today!
Subscribe to Our Newsletter
Get the latest WordPress tutorials, trends, and resources right in your inbox. No Spamming, Unsubscribe Anytime.

Thank you for subscribing to our newsletter!