How to Move WordPress Website to New Host: Step-by-Step Guide
There are no strict rules for moving your WordPress website to a new host. It could be for transferring your site to a new host, or perhaps you created a test site and now want to make it live. Whatever the reason, there are multiple ways you can shift your website to a new host.
In this guide, we’ll show you multiple ways you can move a WordPress website to a new host. Each method will have step by step instructions, for your convenience. Want to know more? Let’s get into it!
Why Move Your WordPress Site to a New Host?
There are several compelling reasons to move your WordPress site to a new host, let’s explore some major ones –
Improved Performance and Site Speed
A better hosting provider can provide faster servers that are optimized for WordPress. Some hosts allocate more CPU, RAM, and disk space to reduce the slowdowns during the peak traffic hours. This can significantly improve your site’s loading speed.
Enhanced Website Security
Some hosting providers offer better security measures, including malware scanning, and automatic backups. If your current host does not offer easy SSL certificate integration, consider switching to a hosting provider that highlights this feature in their package.
Cost-Efficient
Some hosting providers offer lucrative packages that include features like free content delivery network (CDN), email hosting, and more storage space at a competitive rate. You might find a host that offers similar or better features at a lower price than your current one.
Downtime and Reliability Issues
If your current host experiences frequent outages or downtime, moving to a more reliable host can improve your site’s availability. Carefully monitor your website’s downtime using monitoring tools like Jetpack’s Downtime Monitor and ensure a quick resolution.
3 Step-by-Step Guides to Migrate Your WordPress Website
There are several ways to move your WordPress website to a new host. Here are 3 methods for both developers and beginners to move their WordPress site to a new host –
- Manually move your WordPress site
- Use a WordPress plugin
- Use Command Prompt
Method 1: Move Your WordPress Site to New Domain Manually
Migrating manually is the most reliable way to move your WordPress site to a new host, instead of using a WordPress plugin.
Step 1: Take Backup and Download your Site Data
Before manually moving your website, the first step should be to backup/download all data related to your WordPress site. This transfer can be managed in one of two ways –
- Using a host cPanel
- Via FTP
Step 2: Login to Your cPanel/FTP
Login to your cPanel and open the File Manager. Navigate to the root folder to your domain.
From here, locate wp-content and wp-config. From cPanel’s Backup option, you can download the WordPress Site Backup in full or partially.
Now go to the cPanel homepage, and open the Backup page again and click on it to find all the databases available on your server. You need to Export these databases.
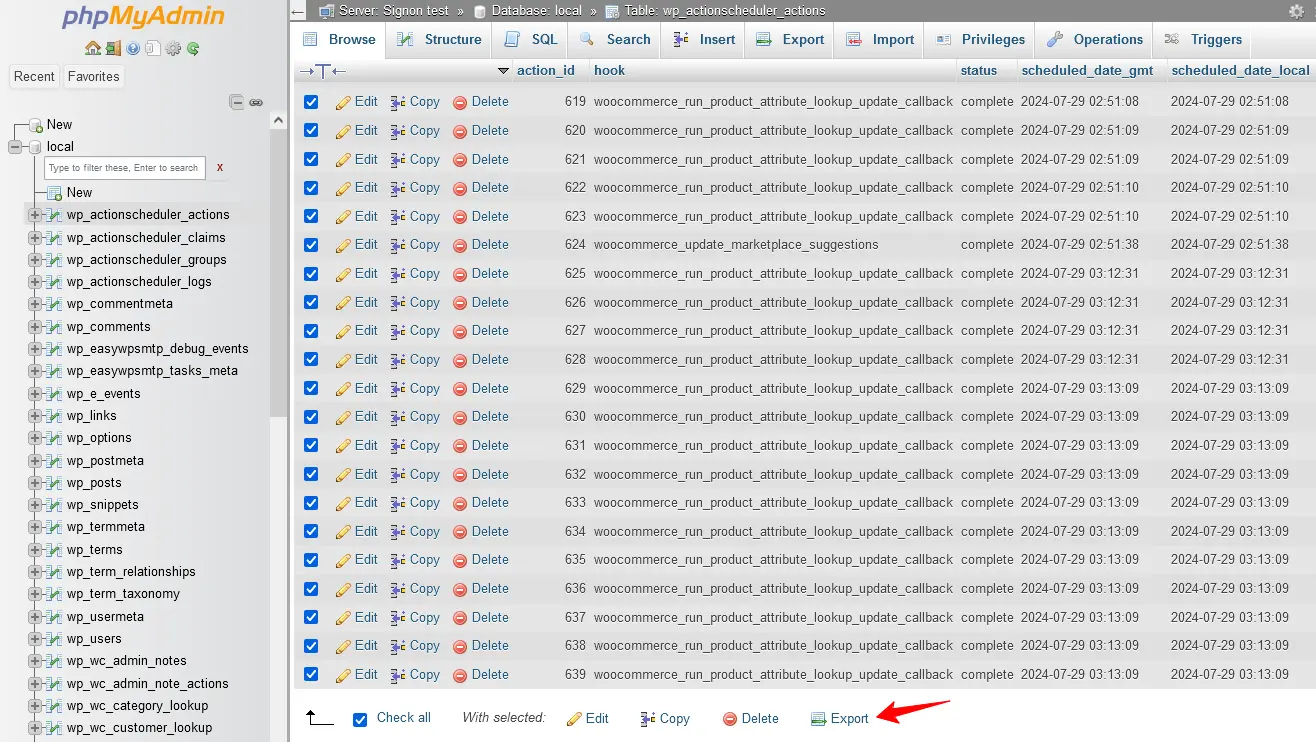
If your site is on a larger scale, you should download all of them as a Zip file, which will help reduce the sizes of your folders.
Step 3: Create a New WordPress Installation
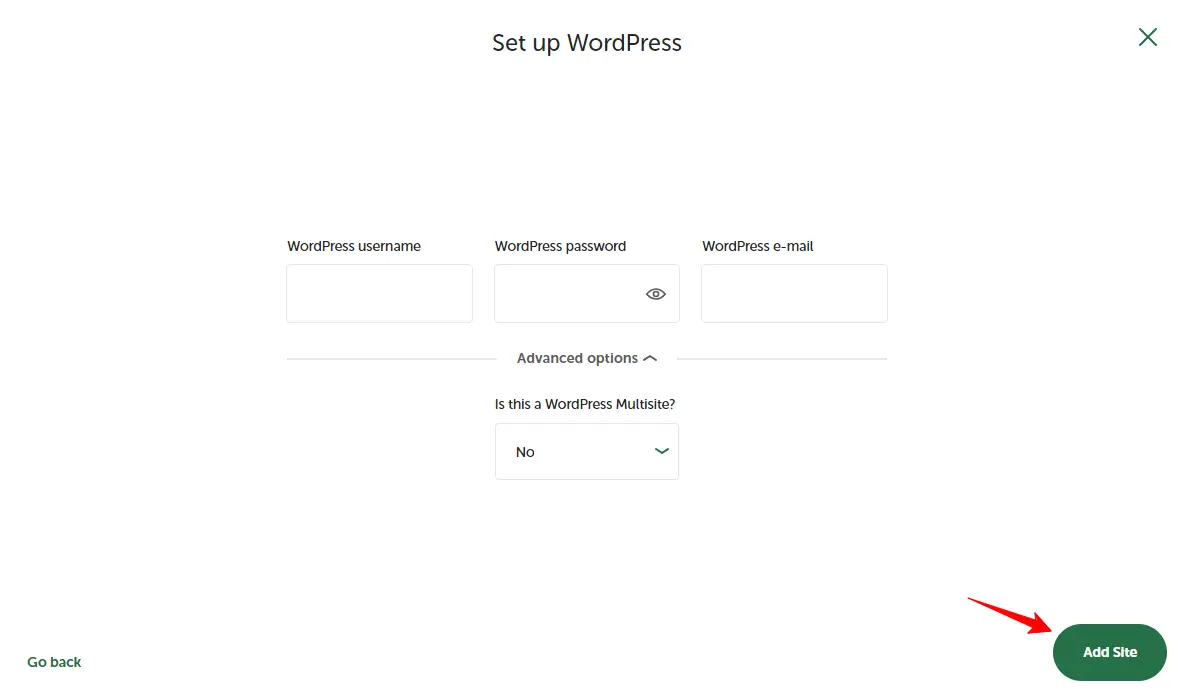
Most of the hosting have a simple click option to install a fresh and new WordPress site. Start by creating a folder where your old site will be moved.
Step 4: Upload Database Backup to New WordPress Host
Now it’s time to upload the Database Backup to your new WordPress host. Navigate to phpMyAdmin under the Databases section and click on it.
You need to locate your blank database tables which were created with your blank WordPress installation. Select all the blank databases and click on the Drop option.
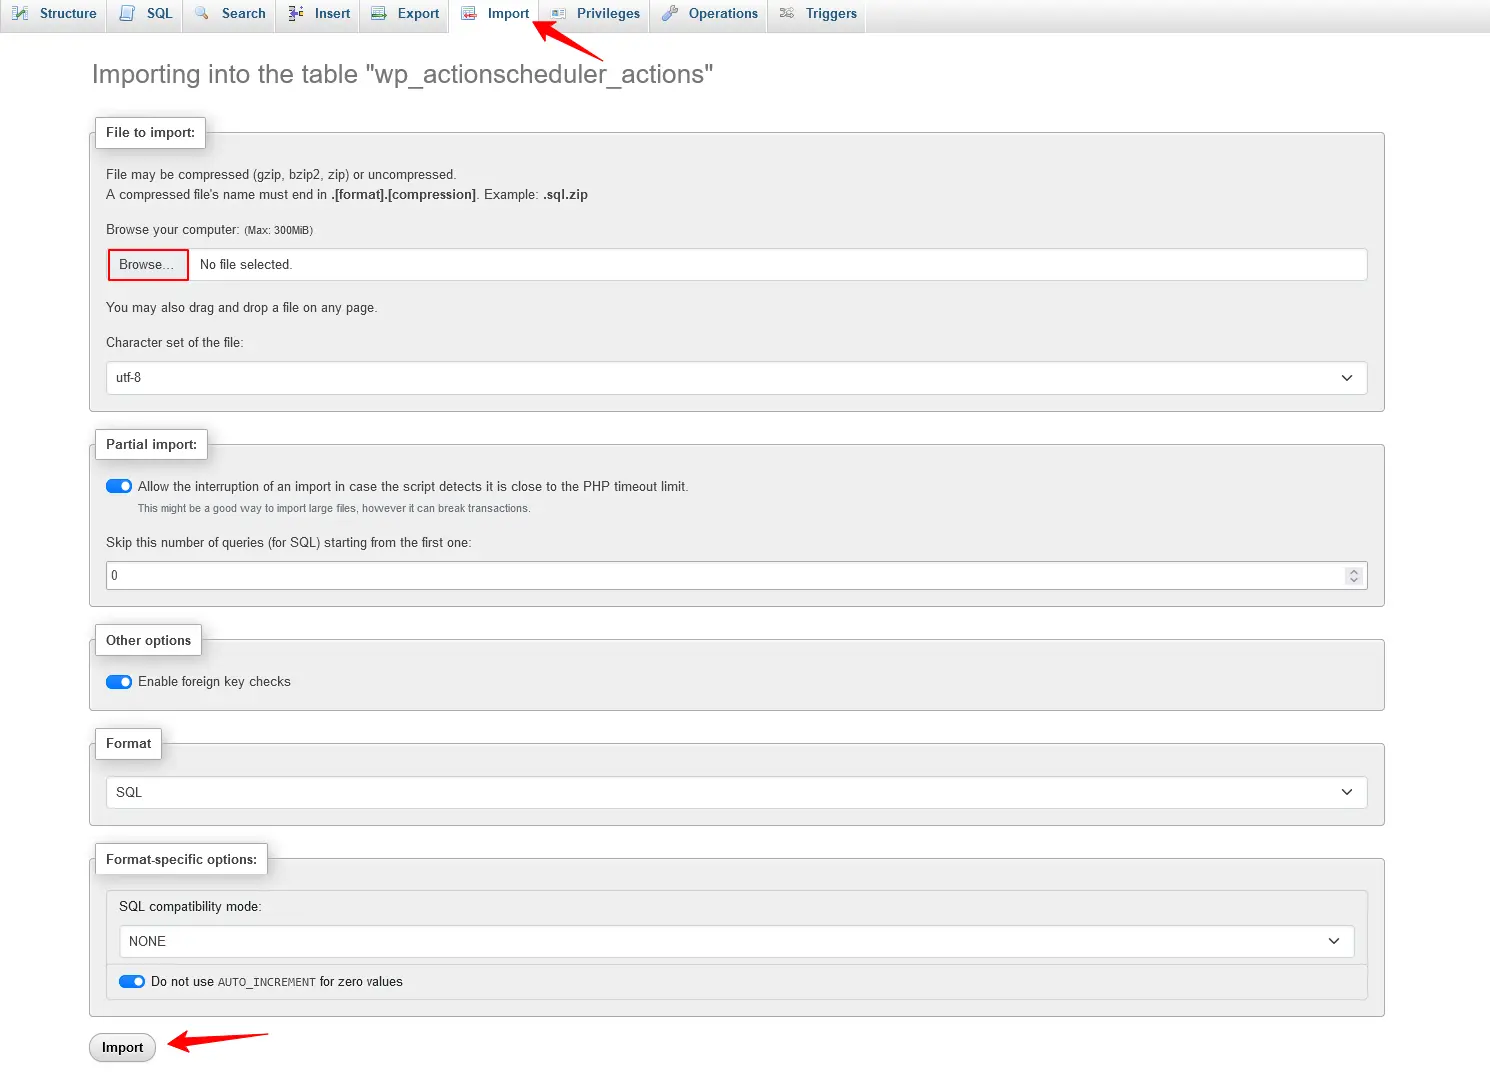
After that, click the Import from the top menu and go to the File to Import section. Choose the related files and upload them by clicking on the Import button.
When all the tables are imported, you will find the options to edit the URL of your site. Locate siteurl under the option name column and change your new site URL string and click the Go button.
Step 5: Upload Backup Content to the New Host
When the database upload is complete, go to the WordPress Manager by Softaculous and then upload your WordPress site backup in the public_html folder.
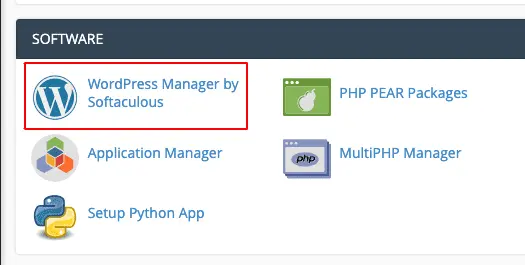
Once the upload is completed, you can start extracting the backup.
Step 6: Adjust Connection Details in wp-config.php File
Now you need to configure your wp-config.php. As you’re moving your site to a new hosting you need to adjust the local hostname in the wp-config.php file.
Locate the $table_prefix that needs to be updated with the correct prefix and click the Save button when you’re done. Now all your data related to your website should be uploaded and updated.
Step 7: Configure Your DNS
Another important part is the DNS setting, which you will need to configure as well. Access your DNS management panel and look for Add/Edit Record within your DNS control panel.
Select the appropriate record type from the available options and fill the required fields related to your records. Add your older DNS records and set the Time to Live (TTL) with a balanced value on your needs.
Once everything is configured properly, remember to save the record.
Note: This might take 24 hours to update the DNS settings to your current site.
Method 2: Move Your WordPress Website with a Plugin
Using a WordPress plugin to migrate your website can be straightforward but you need to ensure the plugin you’re using is trustworthy and efficient.
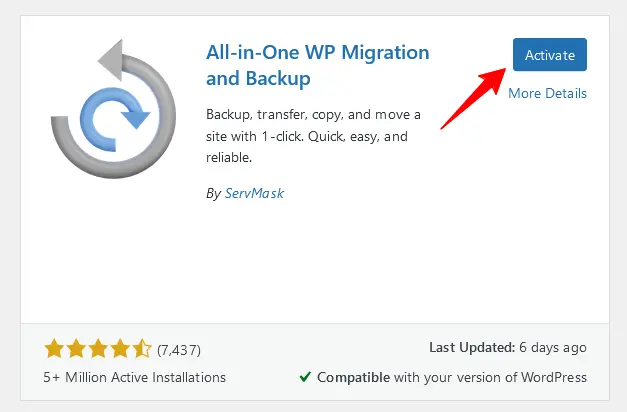
Step 1: Install and Activate Required Plugin to New Host
Navigate to Dashboard > Plugins > Add New and search for All-in-One WP Migration and Backups. After that, click the Install button and Activate it.
Step 2: Import the Export File
If you already took the backups of your files and databases then click the Import button from the plugin dashboard.
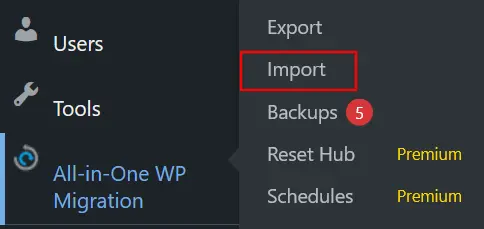
Select the exported file from where it is located and upload it to your newly hosted site. It might take some time to import the backup to your new host.
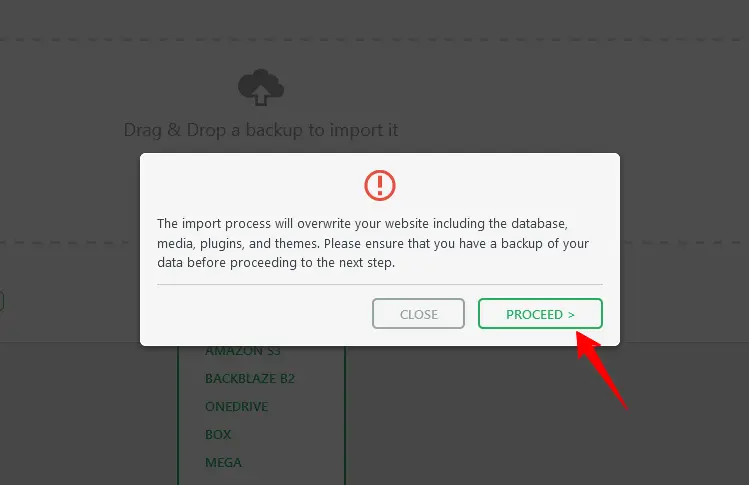
When the upload is complete, it will show the confirmation message with a popup. You need to click the Proceed button to move your WordPress site database to new host.
Step 3: Monitor the Progress
After, proceeding with the uploaded backup, monitor everything related to your old site database files.
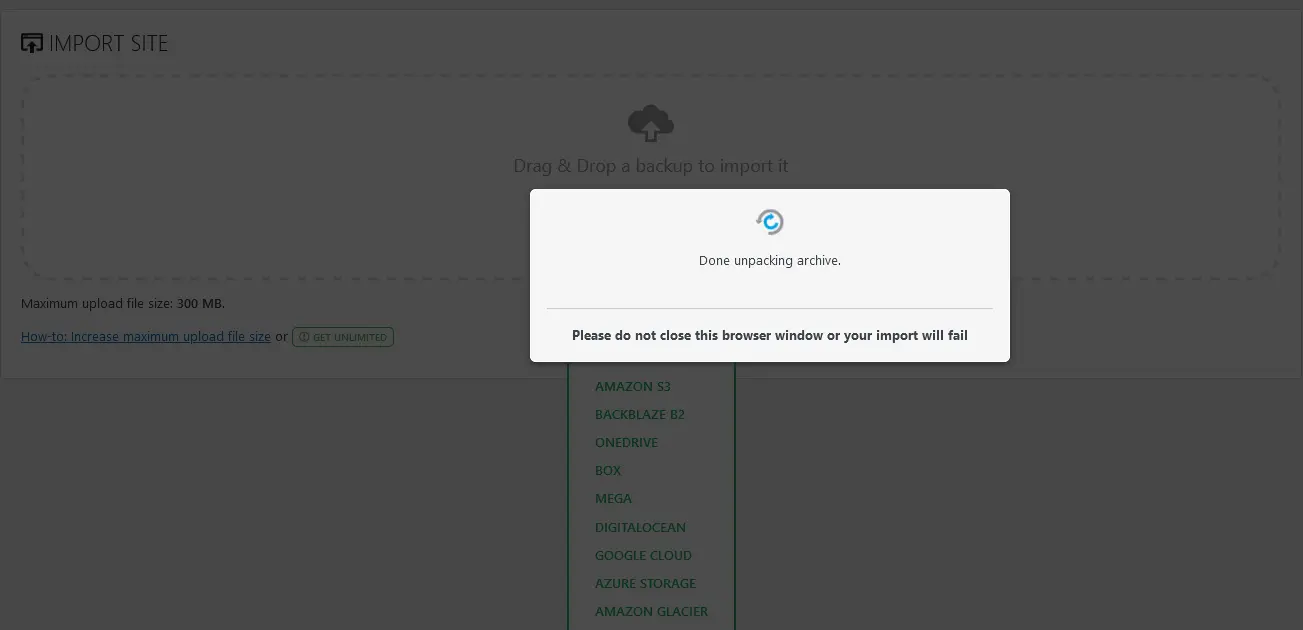
If you find anything wrong with the uploaded file missing or causing any error then check the files properly and re-upload it.
Step 4: Check Uploaded Database
Databases are the most technical part and without it, no part of your site will work properly. Check if each and every prefix and tables are set properly.
Once the upload is complete, verify the database tables and prefix. If the database causes any error, it’s better to contact an expert regarding the issue. You can reach out to your host support for additional services.
Method 3: Migrate WordPress Site Using Command MigrateWP
This is the simplest and fastest way to migrate your WordPress site to a different domain. Before you get started with this methods, here are some key points to remember –
This part is aimed for developers with prior knowledge about the Command Line.
To use MigrateWP, you will need an operating system like MacOS or Linux on a remote server. WP CLI 2.4.0 and Rsync 2.6.9 must be installed in migrateWP.
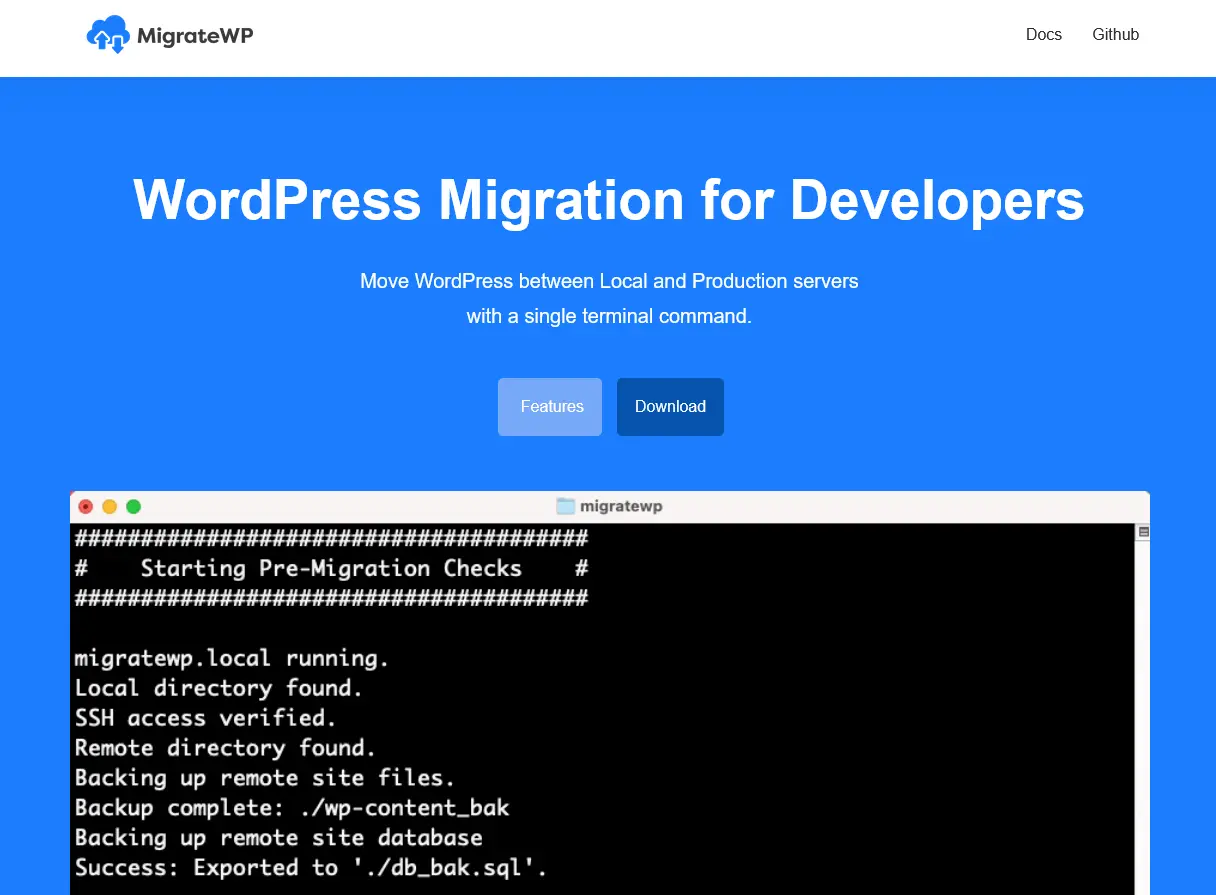
Step 1: Installation and Setup
Before starting with the installation and setup, Download MigrateWP. Open the terminal and CD that contains the migrate folder.
Step 2: Create an alias and Restart session
Now create an alias using the command given below –
echo "alias mwp="bash /Users/username/yourfolder/MigrateWP.sh" >> ~/.zshWhen the alias is created, restart the terminal session with the below command –
exec zshStep 3: Replace Your WordPress Sitename
Each of your site in the config will look like the following –
sitename)
systemUser=”[email protected]”
remoteUrl=”example.com”
remotePath=”/var/www/vhosts/example.com/httpdocs/wp-content/”
localUrl=”example.local”
localPath=”/Users/Scott/Local Sites/example/app/public/wp-content/”`
;;
You need to replace sitename with your preferred name. In sshUser, enter an SSH user with permission to your WordPress installation.
And finally, enter the path to the wp-content folder on your local and remote servers.
Step 4: WordPress Site Migration Commands with MigrateWP
MigrateWP uses four commands: Push, Pull, Rollback, and Report.
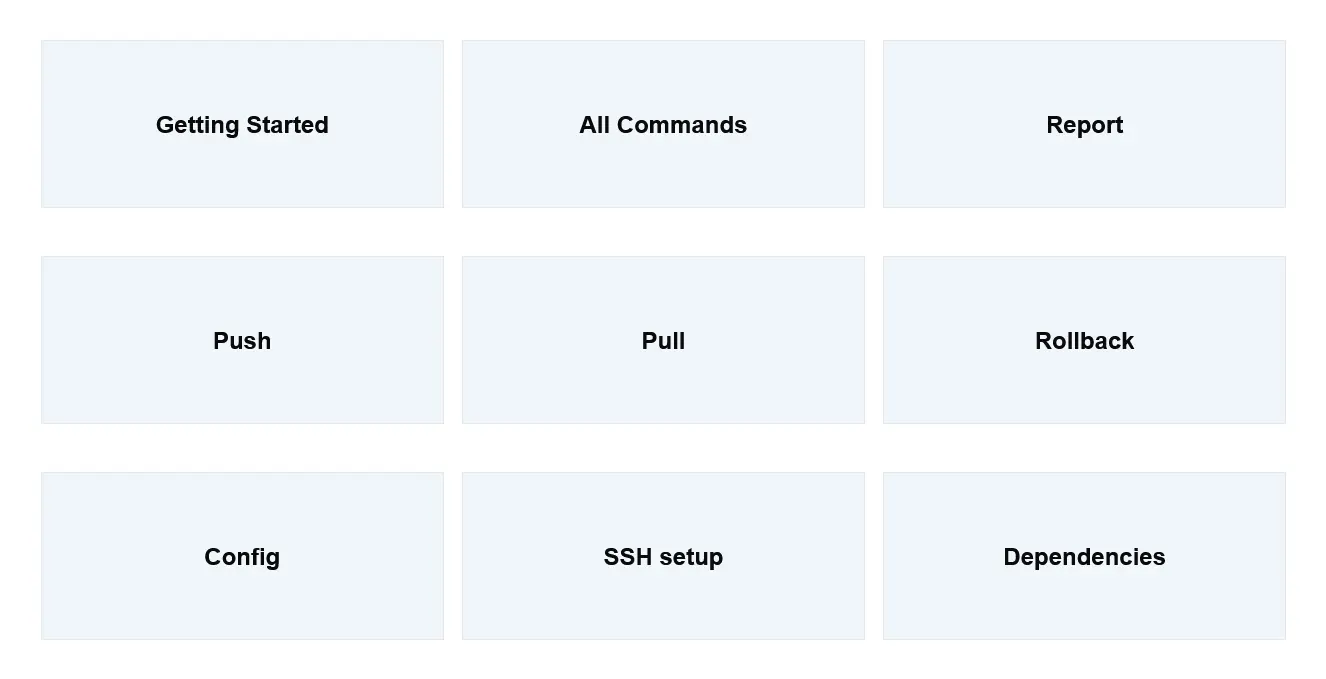
Here, the Push command will migrate your WordPress site from your local machine to a remote server. The command will look like this –
mwp pull sitenameThe Pull Command helps you migrate your website from the remote server to your local machine. Here is the command for Pull –
mwp push sitenameIf you want to revert back to your recent push and pull use the below Rollback command –
mwp rollback sitenameAnd the Report command will assist you with displaying the migration history for the site you’re working with. Here’s what the Report command will look like –
mwp report sitenameFor a better overview of this method, you can follow the documentation of MigrateWP.
Final Words
Moving your WordPress site to a new host seems like a daunting task but with the right approach, it can be a smooth and rewarding process. If you’re seeking better performance, enhanced security, cost efficiency, or just improved reliability, migrating your site can be a significant step towards achieving your website’s goals.
Remember to backup your site, carefully follow each step shown in this guide, and verify everything after you move on to the new host. With these precautions in place, your WordPress site will be up and running on its new host in no time.
Frequently Asked Questions (FAQs)
Q. Can I transfer my whole website to a new host?
Yes. Once you have access to your new host you can do it. For this, export your old site and upload the backup to your new host.
Q. Can I migrate my WordPress site to a new host?
You can migrate your WordPress site to a new host using a free WordPress plugin. Look for the best migration plugin in the WordPress repository and install it to your WordPress.
Q. How to move WordPress hosts and change your Domain name?
Easily move your WordPress hosts and change its name by following the steps below –
- Create a backup of your files and databases and export it from your previous host
- Navigate to the new host and login into its dashboard.
- Upload the backup files and database to the new host.
- Start with site URL and click on the left line of your database
- A new field option value will appear. Change the old domain name with your preferred domain name.
- Finally, click the Go button.
Q. Should I move my WordPress site to a new hosting account?
It depends mostly on you. If you find a better host than the existing one, you should go for it. There are multiple reasons like speed, downtime and reliability, and security. When you find a better response with these features, you must go for it.
Subscribe to Our Newsletter
Get the latest WordPress tutorials, trends, and resources right in your inbox. No Spamming, Unsubscribe Anytime.

Thank you for subscribing to our newsletter!
Table of Content
- Why Move Your WordPress Site to a New Host?
- Improved Performance and Site Speed
- Enhanced Website Security
- Cost-Efficient
- Downtime and Reliability Issues
- 3 Step-by-Step Guides to Migrate Your WordPress Website
- Method 1: Move Your WordPress Site to New Domain Manually
- Step 1: Take Backup and Download your Site Data
- Method 2: Move Your WordPress Website with a Plugin
- Method 3: Migrate WordPress Site Using Command MigrateWP
- Final Words
- Frequently Asked Questions (FAQs)
- Q. Can I transfer my whole website to a new host?
- Q. Can I migrate my WordPress site to a new host?
- Q. How to move WordPress hosts and change your Domain name?
- Q. Should I move my WordPress site to a new hosting account?


