Create WooCommerce product comparison page with Elementor in 8 simple steps


Product Comparison means comparing two or more products in a way that the readers can grasp the differences instantly. Having a product comparison page enables your visitors to see if the featured items or products are better than other products of your eCommerce site.
The ability to compare products that fulfill almost the same needs, helps the customers make decisions more quickly. This feature can be really helpful for stores that sell tools, electronics, appliances, digital goods with almost similar features. That makes this feature an essential part of an eCommerce store.
That’s why CoDesigner, a popular Elementor addon came with new premium widgets – product comparison and product comparison buttons. These widgets are available the version 3.0 of CoDesigner. Today, I will show you the steps to create a product comparison page only in a few minutes!
8 steps to create a product comparison page with CoDesigner
Before starting to design a product comparison page with CoDesigner, make sure you have the following plugins installed on your WordPress site –
Now that you have all the necessary plugins installed on your WordPress site, let’s start creating a product comparison page with CoDesigner.
1. To use these widgets, first, you need to make sure you are using CoDesigner 3.0 and have the widgets enabled in the settings.

2. Create a new page where you wish to show the product comparison widget and edit the page with Elementor.

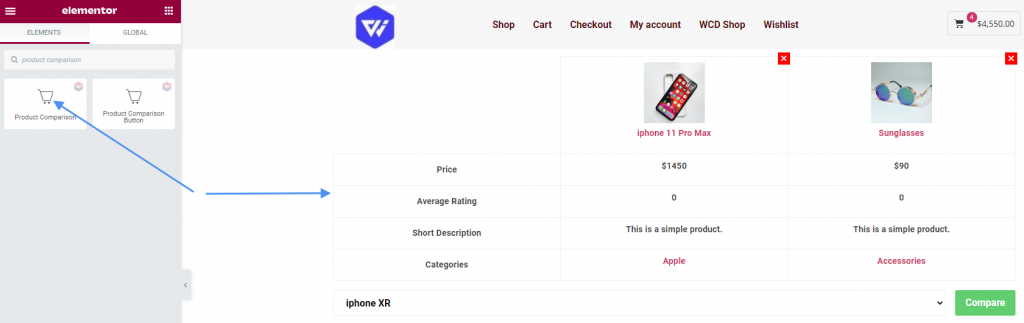
3. Now, I will add the product comparison widget to a new section of the page.
4. It’s time to customize and design the widget. The product comparison widget is fully customizable. In the content tab, you will find options to add and edit the features. Your consumers might be interested in different features according to your store type. So, you can delete the default features and add the ones you think suit the best with your store. I’m keeping the default features for this tutorial.
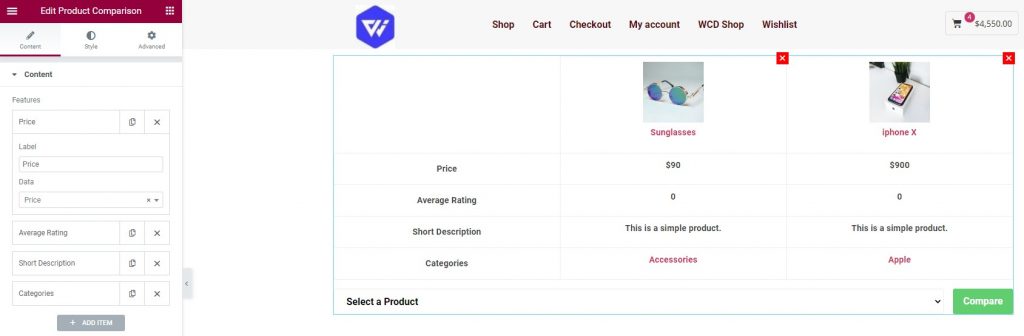
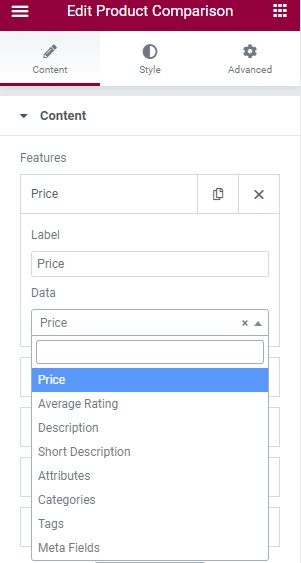
5. You can add price, average rating, description, short descriptions, attributes, categories, tags, and meta fields as contents.
6. There’s also, an option to change the button text, change the close button icon, zoom or redirect to the product page on product image click and show/hide the product image.
7. You will find a lot of options to design the table, header, body, select box, button, remove button, and product image too.
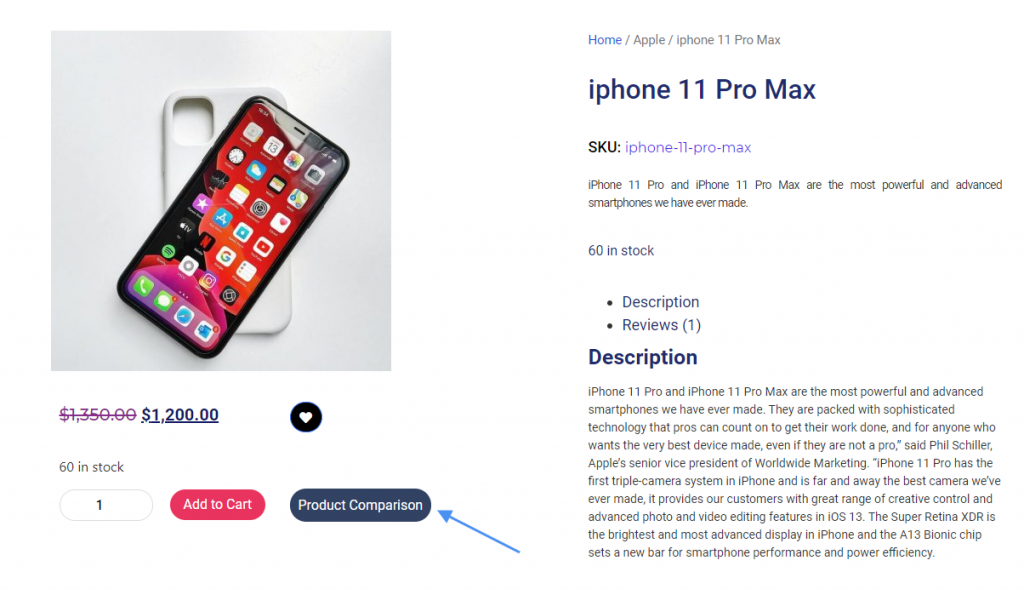
8. I will add a product comparison button on a single product template that was created using CoDesigner. Make sure the single product template is set for all the products and categories in the condition setting of the template. Then I will set this product comparison page as default in the Condition tab of the product comparison button settings.

Now if you click the product comparison button on a single product page, it will redirect you to the product comparison page created using the CoDesigner.
This is how the product comparison page looks like after making some simple changes.
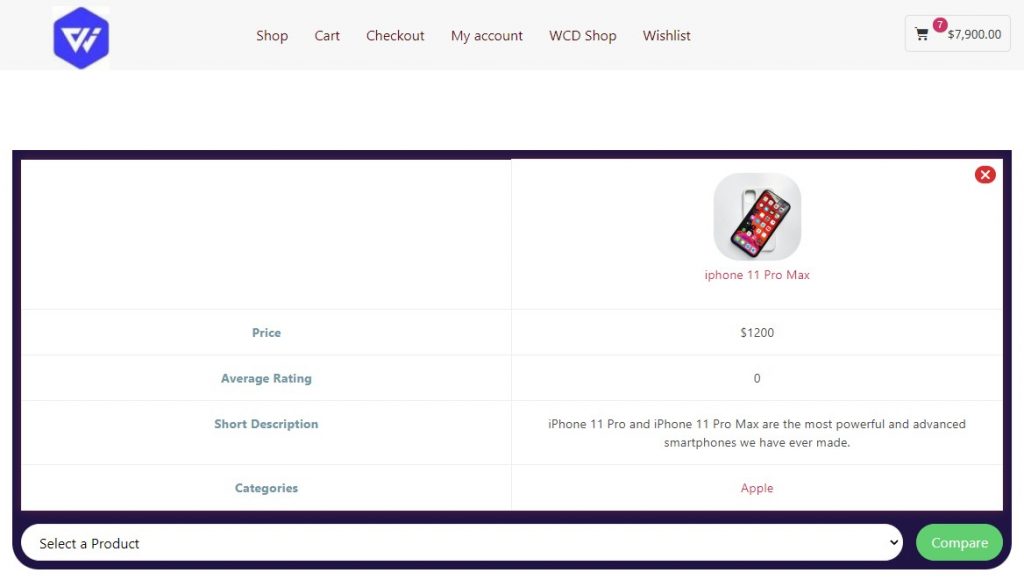
You can now compare this product with as many products as you want. All you need to do is –
Click the Select a Product dropdown – Select the product you wish to compare – Click the compare button
This is how you can easily let users compare all types of products on your site.
Watch CoDesigner Product Comparison in action
Some tips for a better product comparison experience
To provide the best experience of the product comparison feature to the consumers, the following tips are highly recommended:
- Give appropriate and easy to search names to your store products.
- Try to get ratings for the goods you sell on your eCommerce store. This will help the consumers to find the best products without any hassle.
- Try to keep the most attractive and valuable features listed in the product short description.
- Use appropriate tags while adding a product to your eCommerce store.
- Set lucrative prices for the top-rated products. Also, you can occasionally give discounts on these products.
- Categorizing all your products accordingly will also help the users find and comp0are the products they are looking for.
Conclusion
Product comparison features are an inseparable part of an ideal eCommerce store. This feature can bring you more sales and recurring customers as they will be able to quickly compare the products they need. This will also make the customers more comfortable with your eCommerce store as they won’t get lost figuring out where the products are by jumping from one page to another. So what are you waiting for! Try this exclusive new feature of CoDesigner today!
Subscribe to Our Newsletter
Get the latest WordPress tutorials, trends, and resources right in your inbox. No Spamming, Unsubscribe Anytime.

Thank you for subscribing to our newsletter!