How to Add a Wishlist in Woocommerce – A Step-by-Step Guide


Want to boost your sales and keep customers coming back to your WooCommerce store? Add a Wishlist to your WooCommerce store today!
Adding a Wishlist function to your WooCommerce shop makes the shopping experience much more streamlined and convenient. It encourages customers to visit your stores more often and make repeat purchases.
Also, customers can share their Wishlist with family and friends as part of a gift registry and bring exposure to your store. This guide will provide you with a simple step-by-step guide to adding a Wishlist to your WooCommerce store and grow a loyal customer base effortlessly!
7 Reasons to Add Wishlist to Your WooCommerce Store
Add to Wishlist WooCommerce function brings a ton of benefits to your online store. Here are 7 major benefits of adding a Wishlist to your WooCommerce store
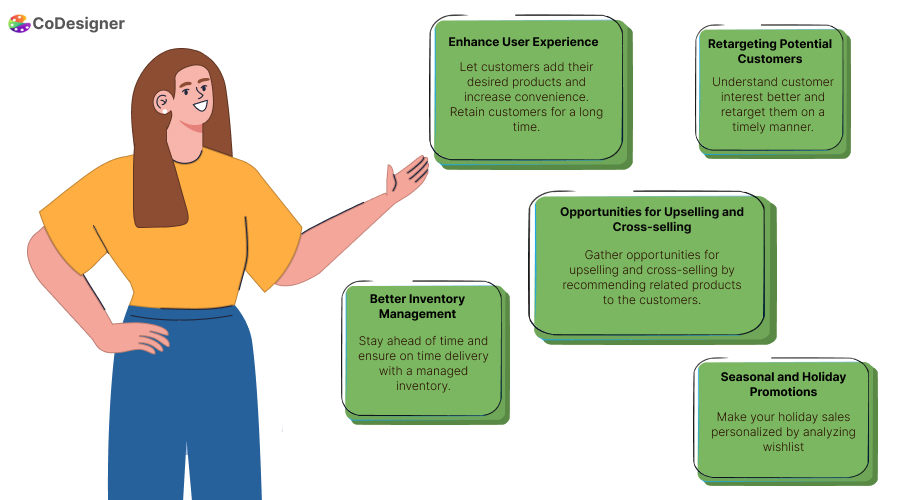
1. Enhance User Experience
A Wishlist button enhances the user experience by making the shopping experience convenient for the users. About 40% of the shoppers agree that their shopping experience is much more convenient with a Wishlist in place. Customers can add their desired products to the list, organize, and purchase them when they feel like it, directly from the Wishlist page.
2. Increase Customer Engagement
A Wishlist feature allows customers to easily share their favorite products with their loved ones – which significantly boosts engagement on your site. This flexibility lets customers gather opinions on their chosen items while encouraging a strong connection with your brand.
3. Retargeting Potential Customers
Wishlists help gather valuable data about the customer and their interests. You can easily track customers’ Wishlists to get a clear understanding of their interests to use them to personalize emails and other marketing campaigns.
4. Upselling and Cross-Selling Opportunities
Analyzing customer Wishlists can create great opportunities for upselling and cross-selling. Wishlists reveal customer preferences and interests to help you recommend related products that align with their interests.
5. Better Inventory Management
Analyzing customer demand can help you to manage your inventory efficiently. You can predict the demand for certain products by analyzing Wishlists and storing them for on-time delivery. Delivery time is a huge factor in customer satisfaction, which can be controlled by efficient inventory management.
6. Personalized Gift Recommendation
Provide personalized gift suggestions to your customers. According to Think with Google, people are 40% more likely to spend more time on your site if they find the shopping experience to be personalized. Increase customer loyalty towards your brand and help increase customer satisfaction with a Wishlist function.
7. Seasonal and Holiday Promotions
Shoppers spend approximately $964.4 billion during holidays and you can grab this opportunity by providing holiday sales. Giving personalized sales become easier when you know which products are really popular among customers – with the help of Wishlists.
Add Wishlist to Your WooCommerce Store in 5 Easy Steps
Want to quickly add a Wishlist to your WooCommerce store? CoDesigner can help you do just that! Here’s how to add a Wishlist to your WooCommerce store using CoDesigner –
Step 1: Get CoDesigner Pro
Go to your WordPress admin dashboard and install CoDesigner from Plugin > Add New Plugin > Install and Activate.
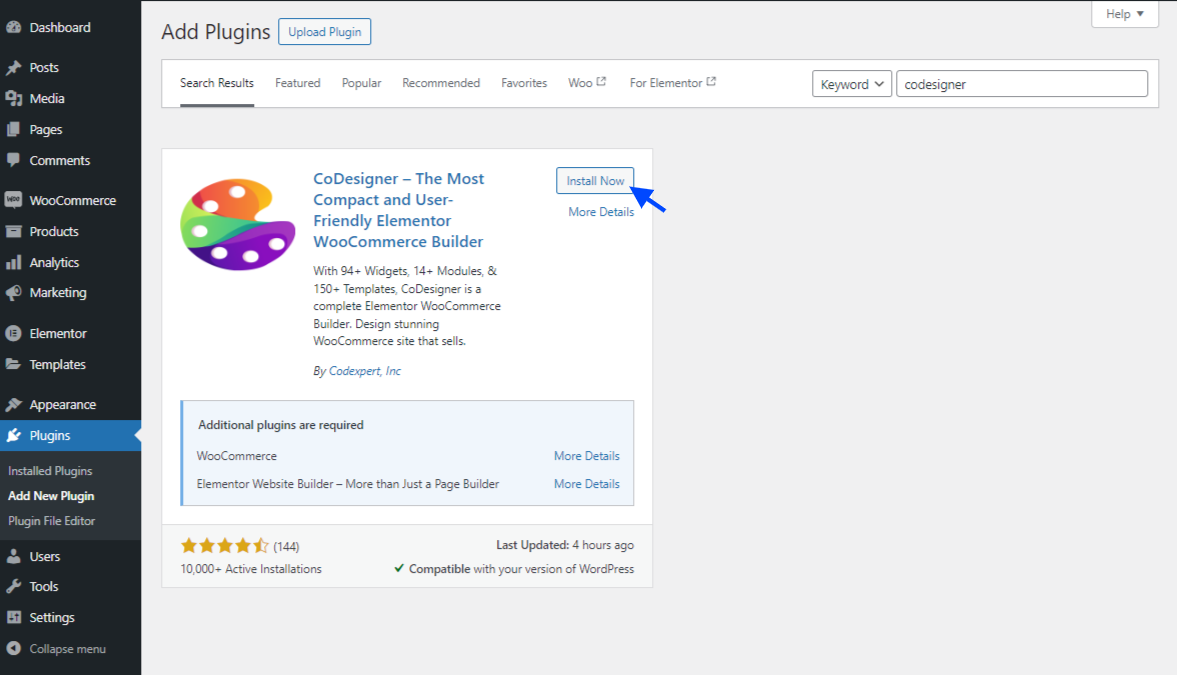
Note: Wishlist is a premium feature of CoDesigner. Get CoDesigner Pro to unlock this feature.
Get CoDesigner Pro from here and upload the plugin on your Dashboard from the Upload Plugin option. Afterwards, enable the CoDesigner license from your dashboard.
After enabling and activating the plugin you are all set for the next step.
Step 2: Enable the Widget
Enable the Wishlist widget from the widget section of CoDesigner. Head over to the widget page from your dashboard and search for ‘Wishlist’ to find all the related widgets.
Enable both widgets to add a Wishlist button on your Shop page and Single Product Page.
Step 3: Add a Wishlist to Your Shop Page
To add Wishlist on your shop page with CoDesigner, you need to design your shop page with CoDesigner ‘Shop’ widgets.
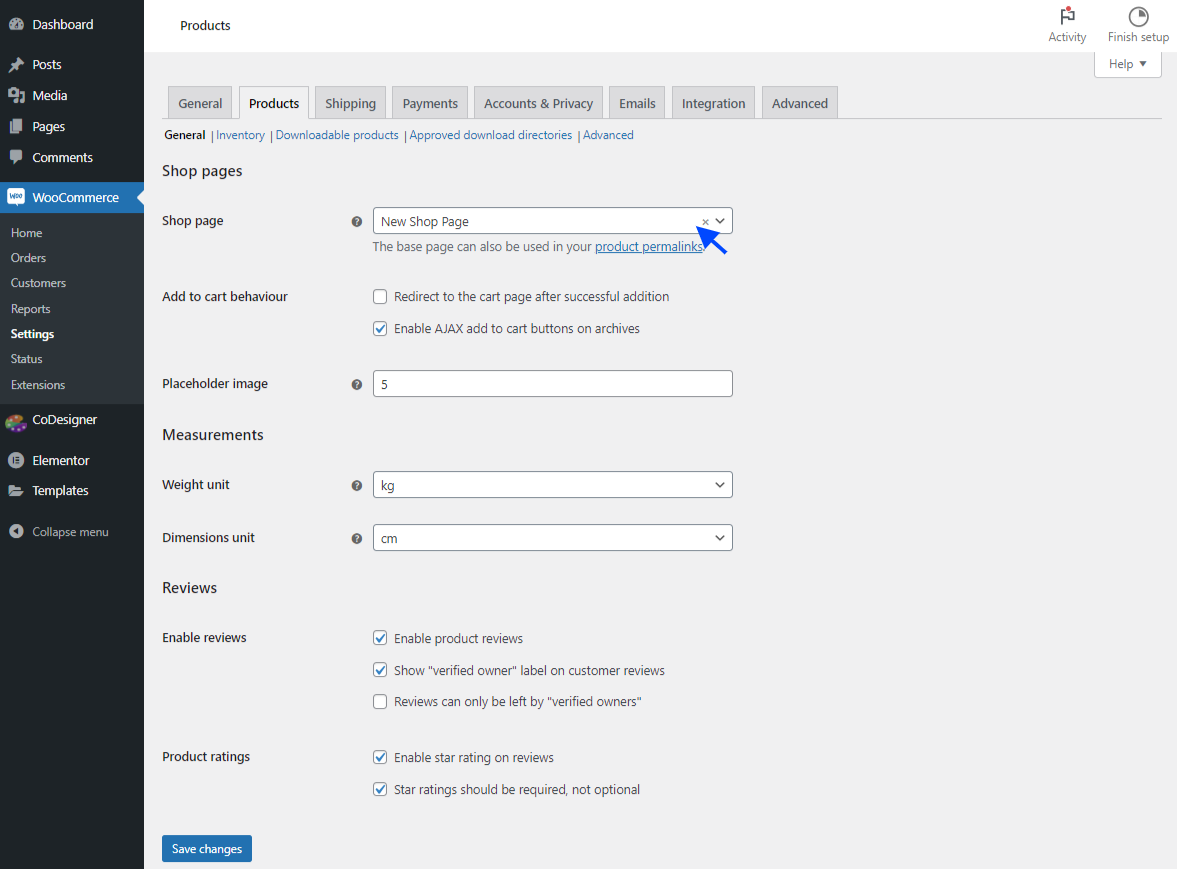
Go to your WooCommerce settings page and assign your Shop Page from the Products section.
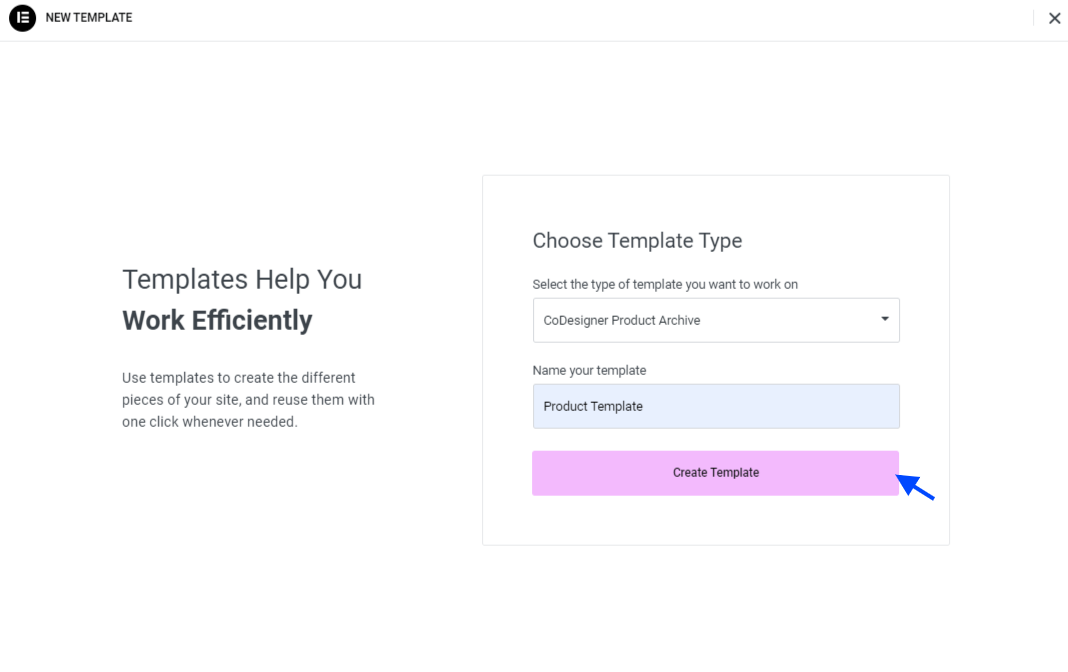
Then, create a Shop template from Template > Add New > CoDesigner Product Archive > Name and hit Create Template.
Now go to your newly created template and start editing with Elementor.
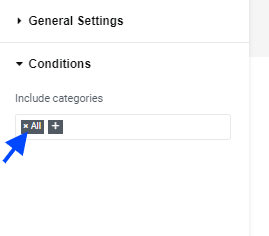
Head over to the Settings option at the bottom and set Include Categories to ‘All’.
Go to the Widget section and add any of the Shop widgets from CoDesigner to your shop page. Hit the Publish or Upgrade button to move forward.
A Wishlist button is added automatically with the shop widgets.
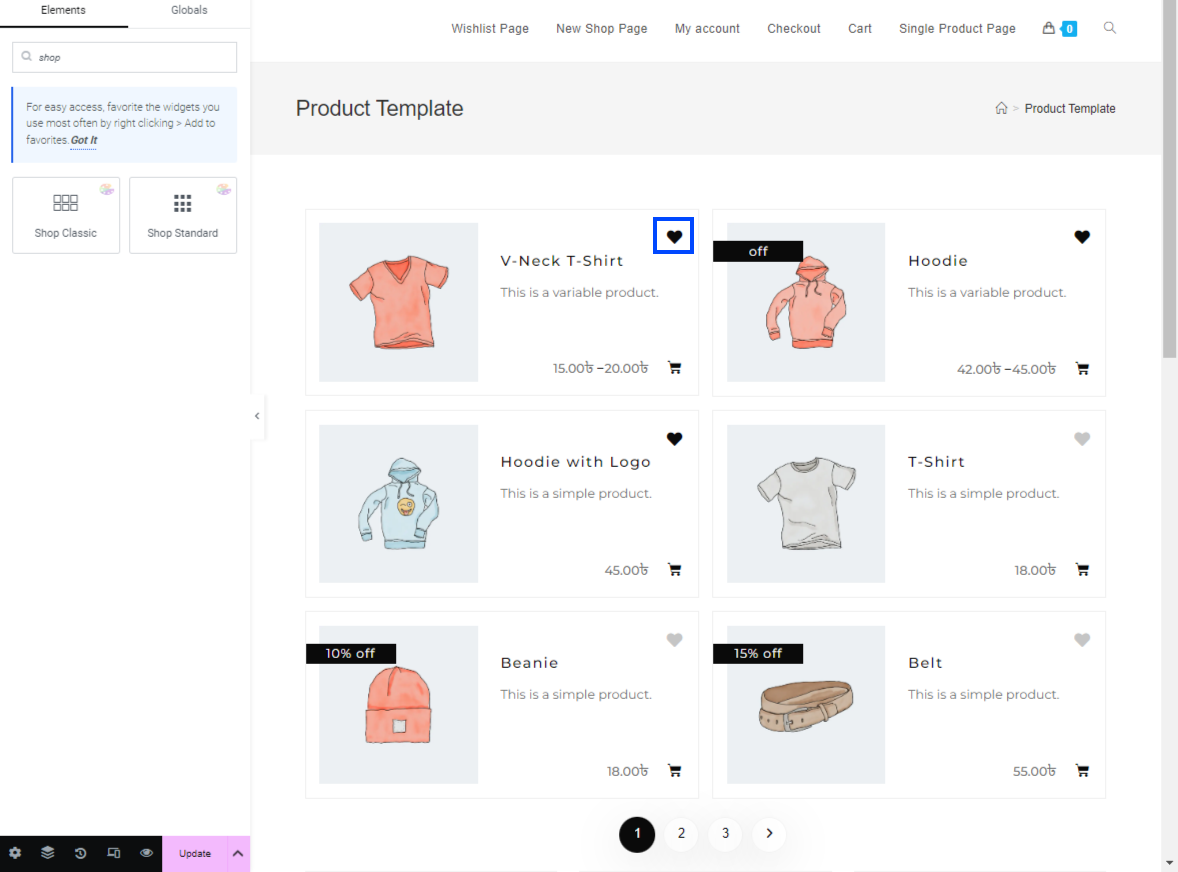
From here, customers can add products to their Wishlist. But to access their Wishlist products, you need to have a Wishlist page. Below we will show you how to create a Wishlist page for your WooCommerce store.
Step 4: Add a Wishlist Page
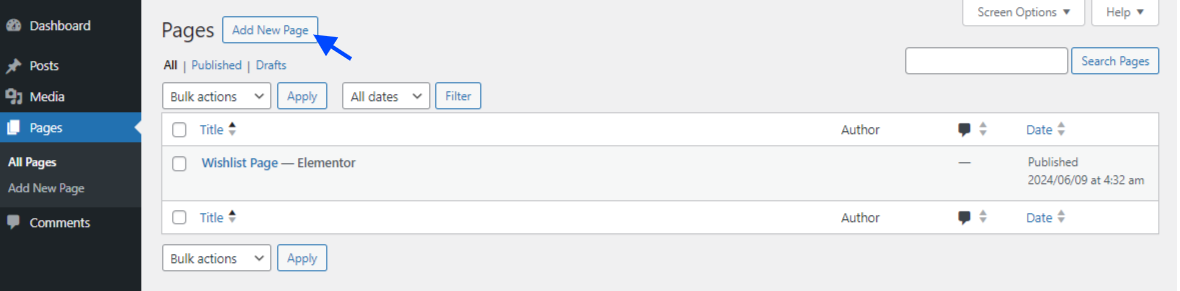
Go to Pages and click on Add New Page to create a new Wishlist page. After naming the page hit Publish.
Click on Edit with Elementor to start editing the Wishlist Page with Elementor.
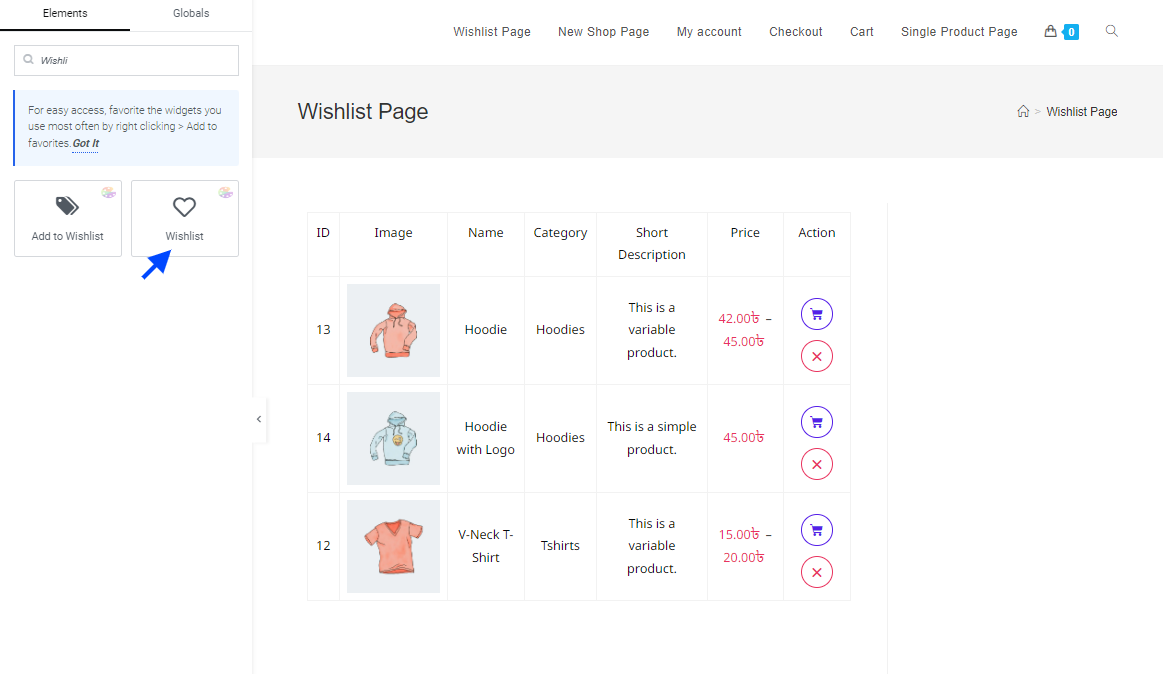
Search for Wishlist widgets in the search bar and you will find all the widgets related to Wishlist by Codesigner. Add the Wishlist widget simply by dragging and dropping it in the desired block. Click on Update.
Now customers can see all the products they have on their Wishlist from this Page
Add the Wishlist page button on top of your shop page from Appearance > Menus or display it on the My Account page by adding the Wishlist widget to your My Account page.
Step 5: Add the Wishlist Button to Single Product Page
To add a Wishlist button on a single product page, create a new Single Product Page template as shown in Step 3 of this guide. Simply navigate to Template > Add New > CoDesigner Single Product Template.
After creating the template, simply add all the desired Single Product Widgets and add the ‘Add to Wishlist’ widget by dragging and dropping it on your desired block. Hit Publish to add the Wishlist function to your WooCommerce single page.
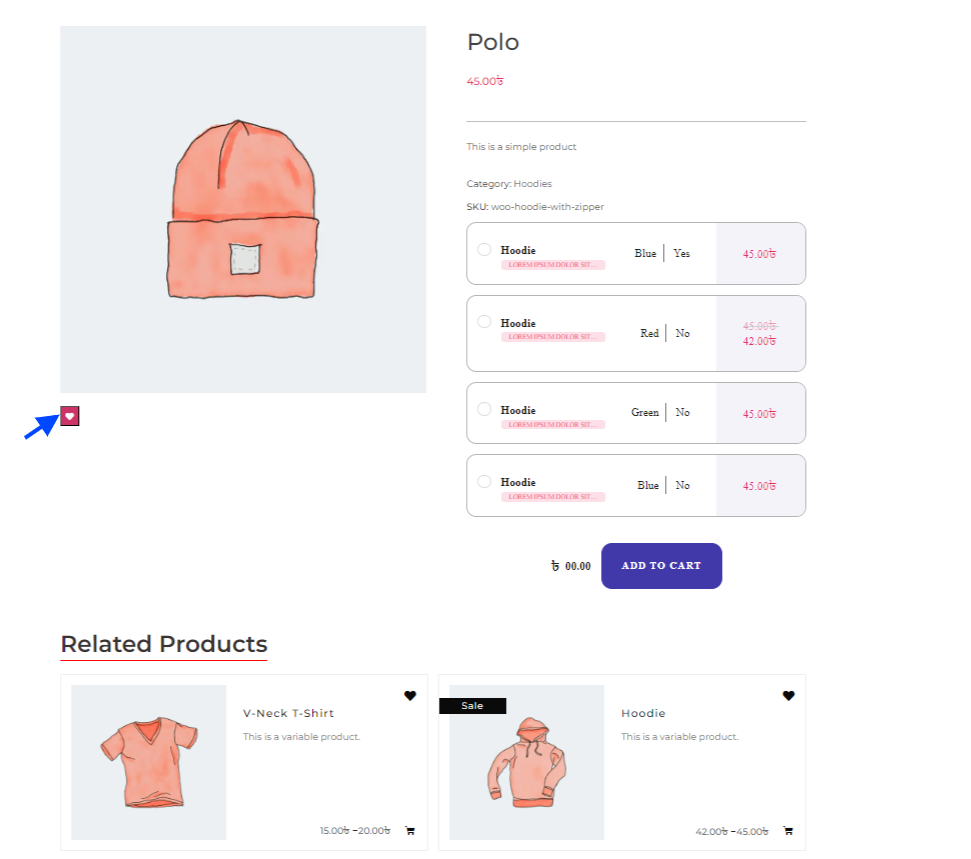
With that, you are all set and the Wishlist function has been added to your WooCommerce Shop.
Add a Wishlist to Drive Sales & Attract Customers!
Wishlists offer a variety of benefits, from enhancing user experience to enabling personalized holiday promotions. CoDesigner makes adding a Wishlist a breeze. Its intuitive drag-and-drop interface lets you easily create Wishlist buttons for all your products and a dedicated Wishlist page where customers can manage their saved items.
Take the hassle out of WooCommerce. Try CoDesigner today!
Subscribe to Our Newsletter
Get the latest WordPress tutorials, trends, and resources right in your inbox. No Spamming, Unsubscribe Anytime.

Thank you for subscribing to our newsletter!

An experienced writer who's really into WordPress. With a knack for making blogs easy to understand, I am passionate about delivering engaging content. Whether it's simplifying tech talk or sharing insights, I enjoy all of it.
Table of Content
- 7 Reasons to Add Wishlist to Your WooCommerce Store
- 1. Enhance User Experience
- 2. Increase Customer Engagement
- 3. Retargeting Potential Customers
- 4. Upselling and Cross-Selling Opportunities
- 5. Better Inventory Management
- 6. Personalized Gift Recommendation
- 7. Seasonal and Holiday Promotions
- Add Wishlist to Your WooCommerce Store in 5 Easy Steps
- Step 1: Get CoDesigner Pro
- Step 2: Enable the Widget
- Step 3: Add a Wishlist to Your Shop Page
- Step 4: Add a Wishlist Page
- Step 5: Add the Wishlist Button to Single Product Page
- Add a Wishlist to Drive Sales & Attract Customers!