How to create separate WooCommerce “Thank You” page with CoDesigner (2026)


Tired of the back-dated WooCommerce Thank You page? CoDesigner is here to help!
The Thank-You page is crucial for customer satisfaction. WooCommerce default Thank-You page is pretty bland and does not provide a personalized feel to the customer. If you really want to create a personalized, unique post-purchase experience, follow along.
Currently, WooCommerce doesn’t offer the option to create a separate Thank You page, so we took the matter into our own hands. With CoDesigner, you can create a stunning personalized Thank You page. With this step-by-step guide, you will be all set to make your customers happy!
Creating Separate Thank You Page : 3 Reasons Why?
Post-purchase user experience will make your customers come back for more next time. It is deeply integrated with your store’s reputation. Here are Three reasons to create a separate Thank You page:
- Customer Experience: Creating a separate Thank You page will enhance the customer’s post-purchase experience. By Providing relevant information, offers, or other content, you can make the customer feel valued and acknowledged.
- Increased Conversions: A well-designed thank you page can help increase conversions by encouraging customers to take further actions, such as subscribing to your newsletter, following you on social media, or making additional purchases.
- Improved Branding: Your thank you page is an opportunity to reinforce your brand identity. By using consistent branding elements and messaging, you can create a memorable and positive impression on your customers.
How to Create a Separate WooCommerce Thank You Page
WooCommerce doesn’t provide a separate Thank You page; the order-received endpoint uses the default checkout page and displays a page containing the thankyou.php template file.
If you wish to create a separate page to display the Thank You message and redirect the customers to it after placing an order, you have two options –
- Create a separate Thank You page manually. or
- Use a plugin.
However, manually creating a Thank You page takes a lot of time, and you should get help from a professional developer. Without proper technical expertise, you will find yourself in a complex situation. This is why we will directly jump into the second option: creating a separate WooCommerce Thank You page using a plugin.

Creating a Separate WooCommerce Thank You Page Using a Plugin
In this part, you will make a separate WooCommerce Thank You page using CoDesigner. This plugin makes the process simple and straightforward so anyone can make their Thank You page. Let’s get started:
Step 1: Get CoDesigner
To start creating a separate WooCommerce Thank You page, you must get Elementor, CoDesigner, and CoDesigner Pro. To download the free version of CoDesigner, go to the Dashboard > Plugin > Add New Plugin > Install > Activate.
After getting the free version, choose a CoDesigner Pro plan and upload the pro plugin to your dashboard. Activate the Pro plugin, and you will be all set for the next steps.
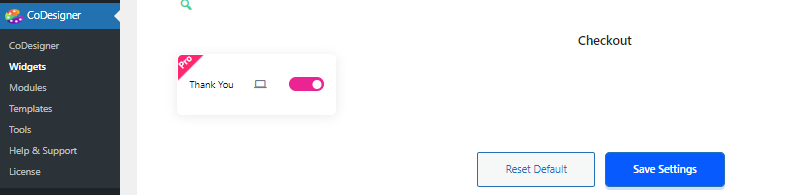
Step 2: Enable Thank You Widget
Now that you have CoDesigner Pro, you can access all the Premium widgets and modules. Enable the Thank You widget from the Widget section of CoDesigner.
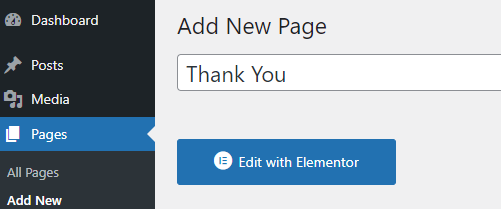
Step 3: Assign a Thank you Page and Customize
Head over to your dashboard and add a new page from Pages > Add New. After adding a new page, click on Edit with Elementor.
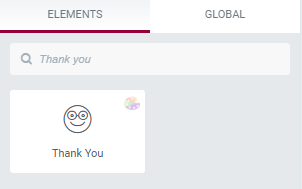
Search for the Thank You widget in the Elements Section, and the Thank You Widget by CoDesigner will appear.
Create a new section to insert the widget.

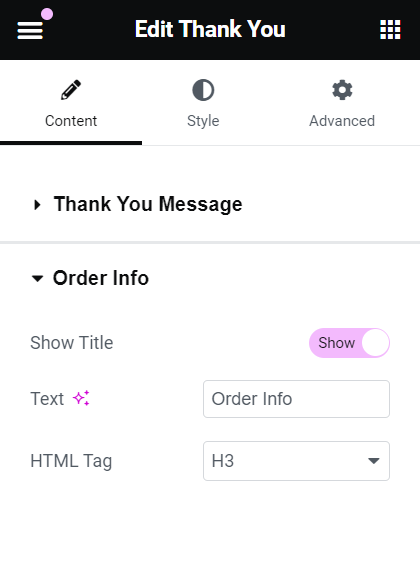
In the Content section – you can set a custom Thank You message.
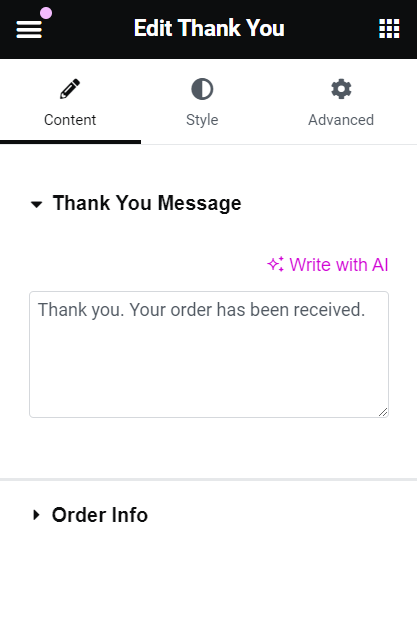
From the Order Info section, you can customize the Order information, show or hide the Title, change the Text, and set the HTML tag.
By adding your own style, you can personalize the Thank You page. From the Style section, you can customize the Thank You section, Order Info Title, Order Info, Order Details Title, Order Details Table, and Addresses.

In these sections, you can change the typography and text color or set a background image, border type, border radius, margin, and more!
When you are done with the customization, you must enable both Contains Thank You? and Custom Thank You? for the container section where you added the Thank You widget.
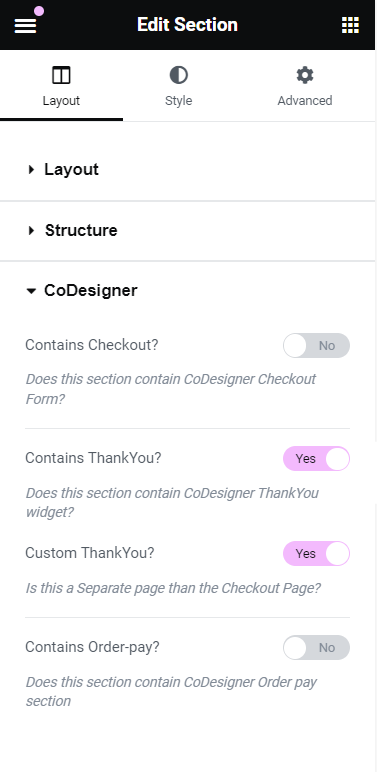
Then, you need to Publish the page.
Step 4: Redirect Thank You page
To redirect Thank You page, you simply use CoDesigner or may use code.
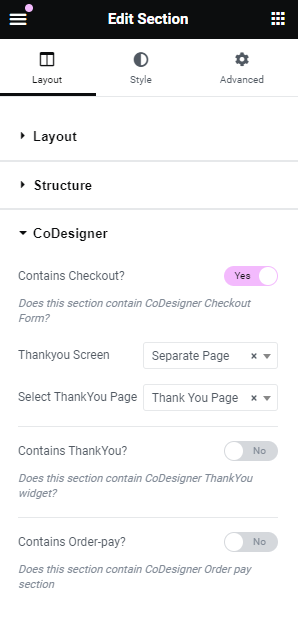
To redirect Thank You page using CoDesigner, head over to your Checkout page and select the Checkout block, and you can now edit the Container. Enable the ”Contains Checkout?” option from the CoDesigner drop-down.
Now select ”Separate Page” from the Thankyou Screen and then assign the previously edited Thank You page to the ”Select Thankyou Page.”
Click on the Update button to update your selection. You will now see a separate Thank You page.
You can also redirect the Thank You page by using code. You can add the following PHP code to your functions.php and define the URL of the Thank You page you just created.
/**
* @snippet Redirect CoDesigner Thank you Page
* @author CoDesigner
* @compatible WooCommerce 6.0
*/
add_action( 'woocommerce_thankyou', 'codesigner_custom_redirect');

function codesigner_custom_redirect( $order_id ){
    $order = wc_get_order( $order_id );
    $url = 'https://yoursite.com/custom-url';
    if ( ! $order->has_status( 'failed' ) ) {
        wp_safe_redirect( $url );
        exit;
    }
}
To better understand the steps, you can follow the video tutorial.
Demo video – thank you page customization.
Bottom Line
WooCommerce stores need proper functionality to attract customers and provide the best experience. A thank-you page adds additional functionality and shows your gratitude towards the customer. Although the benefits of the thank-you page are clearly visible, many ignore them and remain stuck with the boring default thank-you page.
CoDesigner lets you go beyond designing a custom Thank You page. This plugin makes it easy to create and design a custom pages for WooCommerce adding personalized touch. Follow the step by step guide and start making a personal Thank you page right away. Increase customer satisfaction and make your store a selling machine!
Subscribe to Our Newsletter
Get the latest WordPress tutorials, trends, and resources right in your inbox. No Spamming, Unsubscribe Anytime.

Thank you for subscribing to our newsletter!


Hi, I tried using the code snippet and it doesn’t work, after the purchase it sends the user to
/finalizar-compra/order-received/984/?key=wc_order_NebNcNFgL7vOJ
Instead of the page I inserted in the code snippet.
Hi Andres!
Extremely sorry for the inconvenience.
Please reach out to our support, here: https://www.facebook.com/codexpert.io
One of our support will try to help you with the issue.
Thank you!